Retaining Wall Repair Tips for Lasting Durability
Meta Revitalize your outdoor space with these Retaining Wall Repair Tips for Lasting Durability. Learn how to spot warning signs, fix damage, and maintain a sturdy structure for years to come.
When a retaining wall starts misbehavin’, it can transform an otherwise pristine landscape into an eyesore—fast. Perhaps you’ve noticed bulging bricks, cracks forming between the mortar lines, or a slight tilt that seems to worsen after each rainstorm? Well, hold your horses, ‘cause those signs aren’t something to shrug off. Retaining walls serve a vital function by holding back soil and preventing erosion, so if they fail, you could find yourself knee-deep in dirt, debris, and costly repairs. Yikes!
This article will delve into why these walls matter, how to spot damage before it spirals out of control, and—drumroll, please—the best Retaining Wall Repair Tips for Lasting Durability. We’ll dig deep (pun intended) into the nitty-gritty so you can fix your wall and keep it standing strong. After all, nobody wants a shabby structure overshadowing their backyard oasis!
So, without further ado, let’s roll up our sleeves and get cracking on all the need-to-knows, from diagnosing trouble spots to implementing foolproof solutions. Ready to give your wall a new lease on life? Let’s do this.
Why Are Retaining Walls So Important?
Ever wonder why folks make a fuss about retaining walls? They might look like simple structures, but oh boy, they’ve got a big job to do. Retaining walls manage soil pressure and help prevent erosion, ensuring your property remains stable and level. If that doesn’t sound like a big deal, imagine your garden or patio sliding downhill after a torrential downpour. Now that’s a nightmare!
Key Functions of a Retaining Wall
Erosion Prevention: Retaining walls keep soil where it should be—on your property, not washing away with every storm.
Leveling Uneven Land: Got a sloped yard? Retaining walls let you reclaim usable space for patios, gardens, or play areas.
Enhancing Aesthetics: These walls can serve as gorgeous focal points when designed with eye-catching stones or blocks, boosting curb appeal.
Improving Structural Stability: They reduce the risk of landslides, sinkholes, and other terrain-related issues.
So yeah, a failing wall isn’t just a cosmetic flaw; it’s a structural headache that can lead to messy—and expensive—results. But don’t worry, friend, ‘cause by the end of this read, you’ll be equipped with rock-solid retaining wall repair tips that’ll have you feeling more secure than a bank vault.
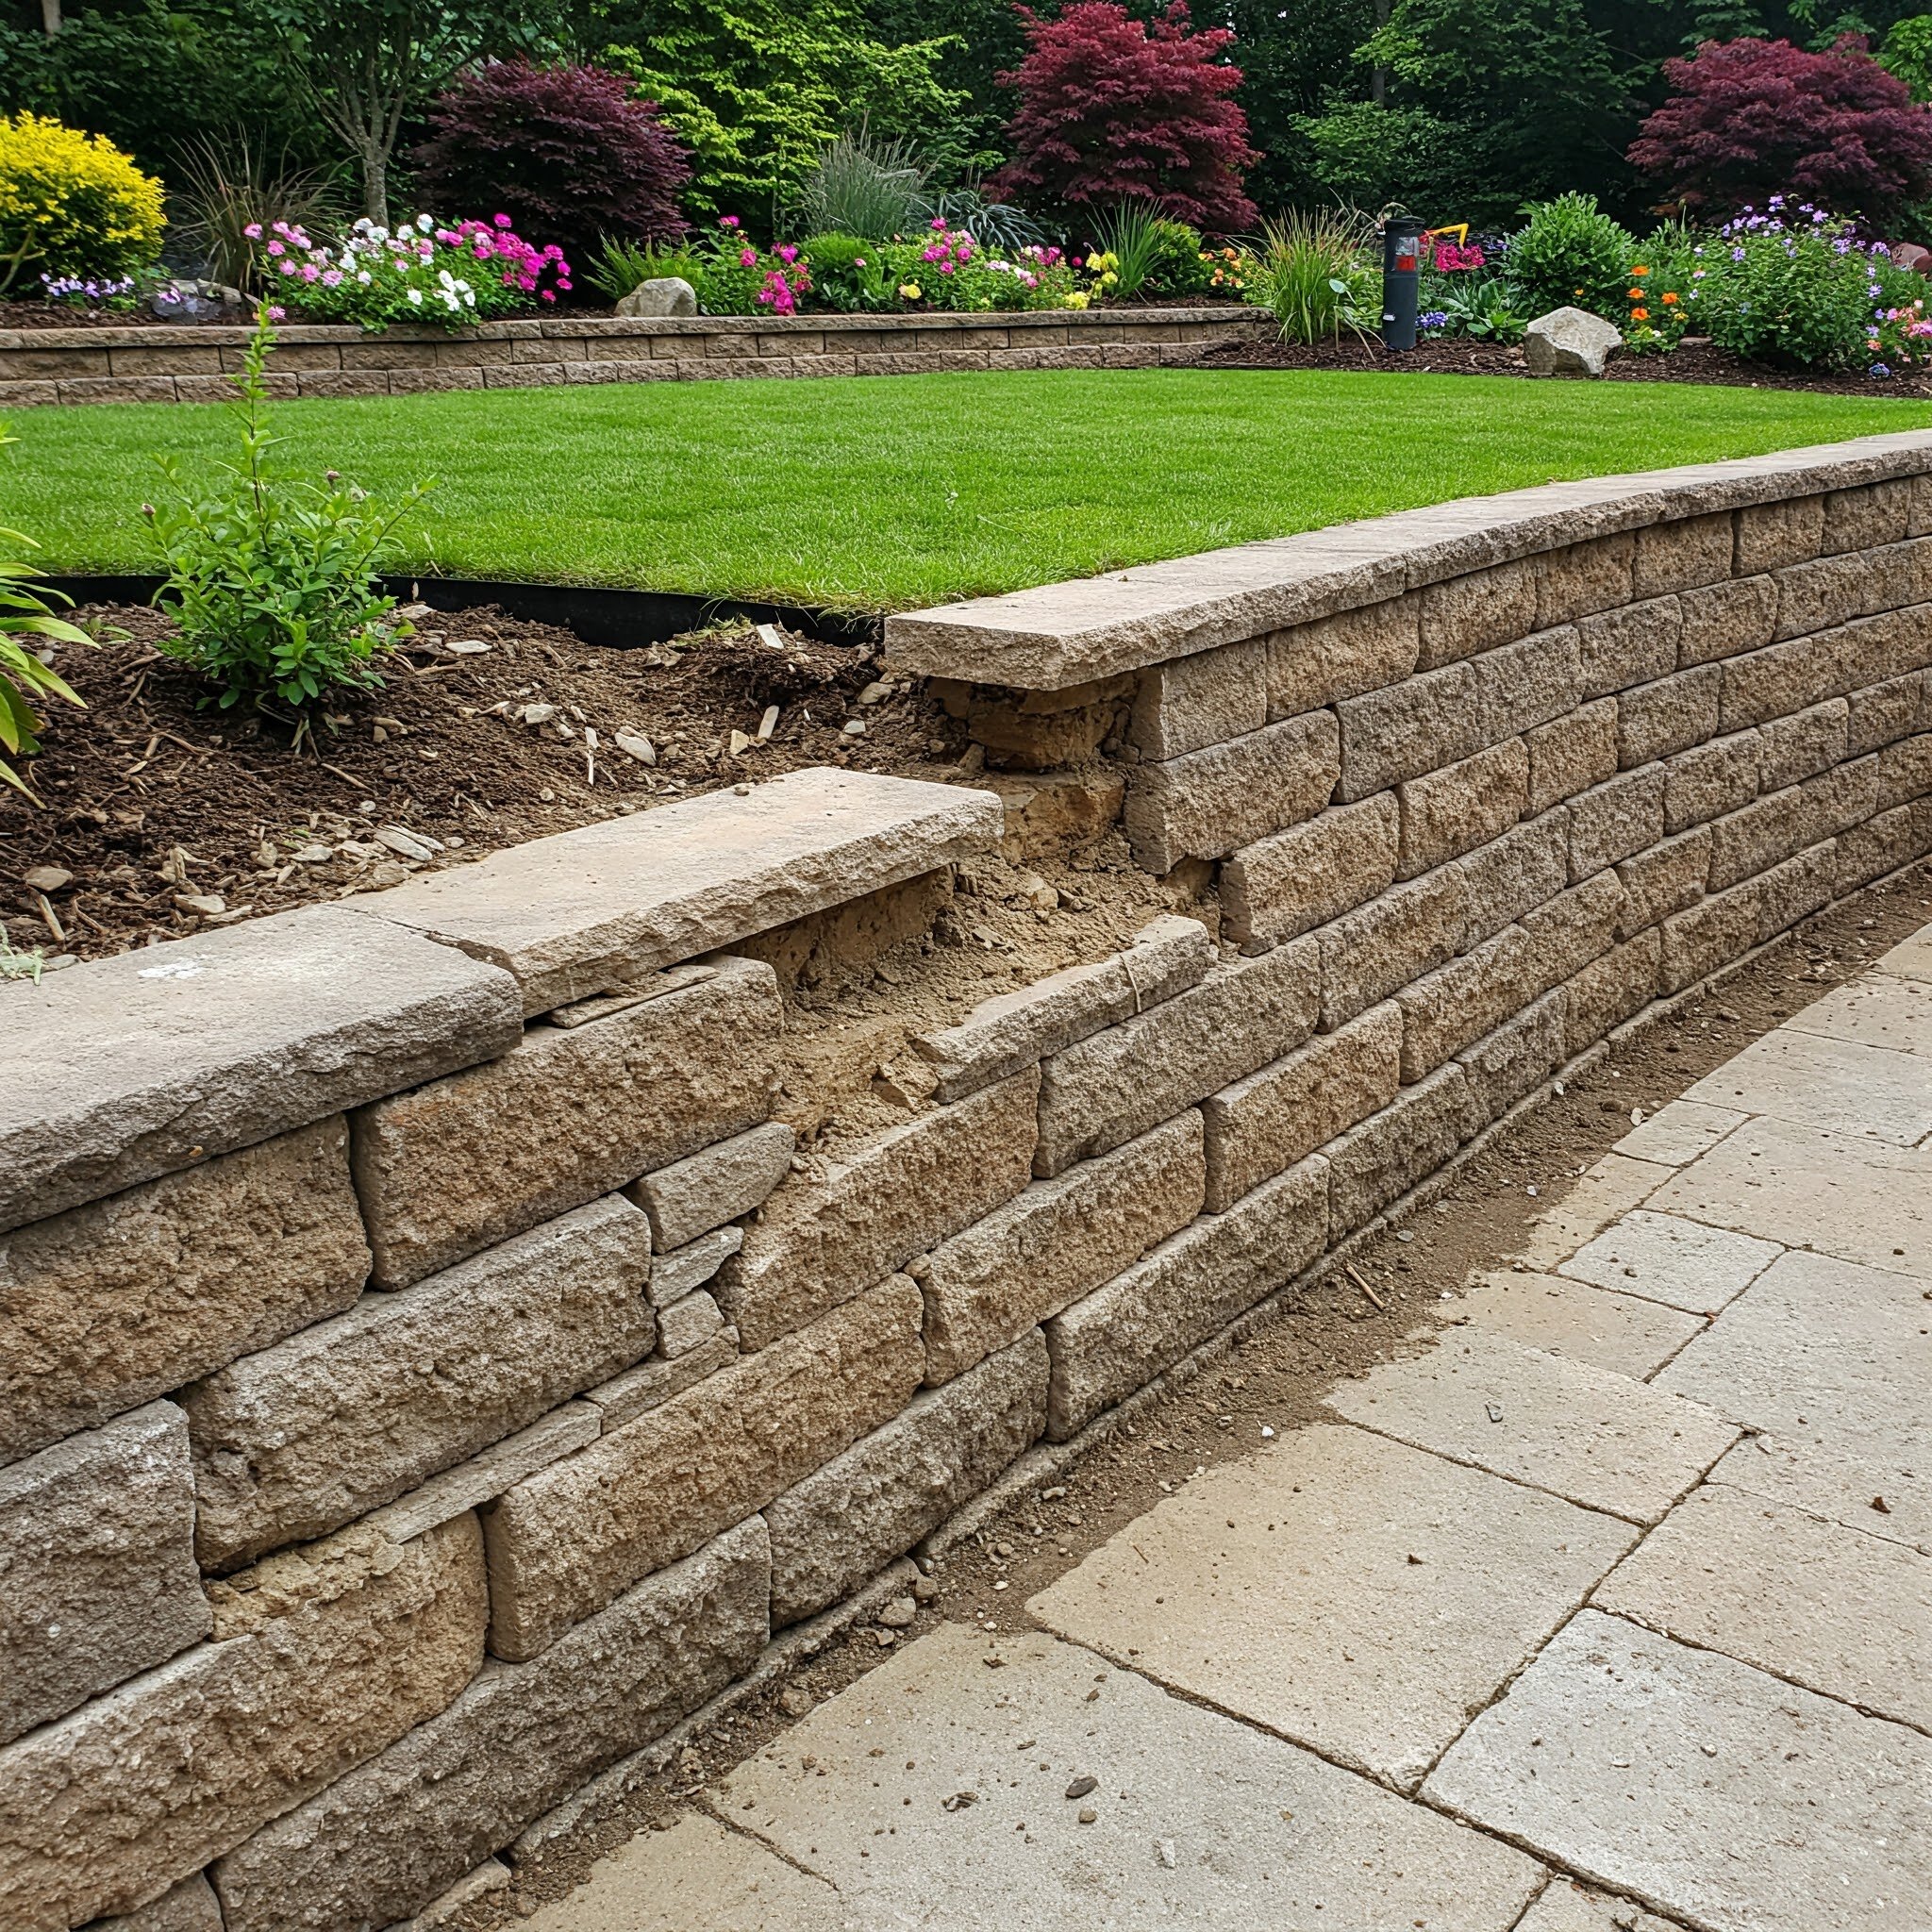
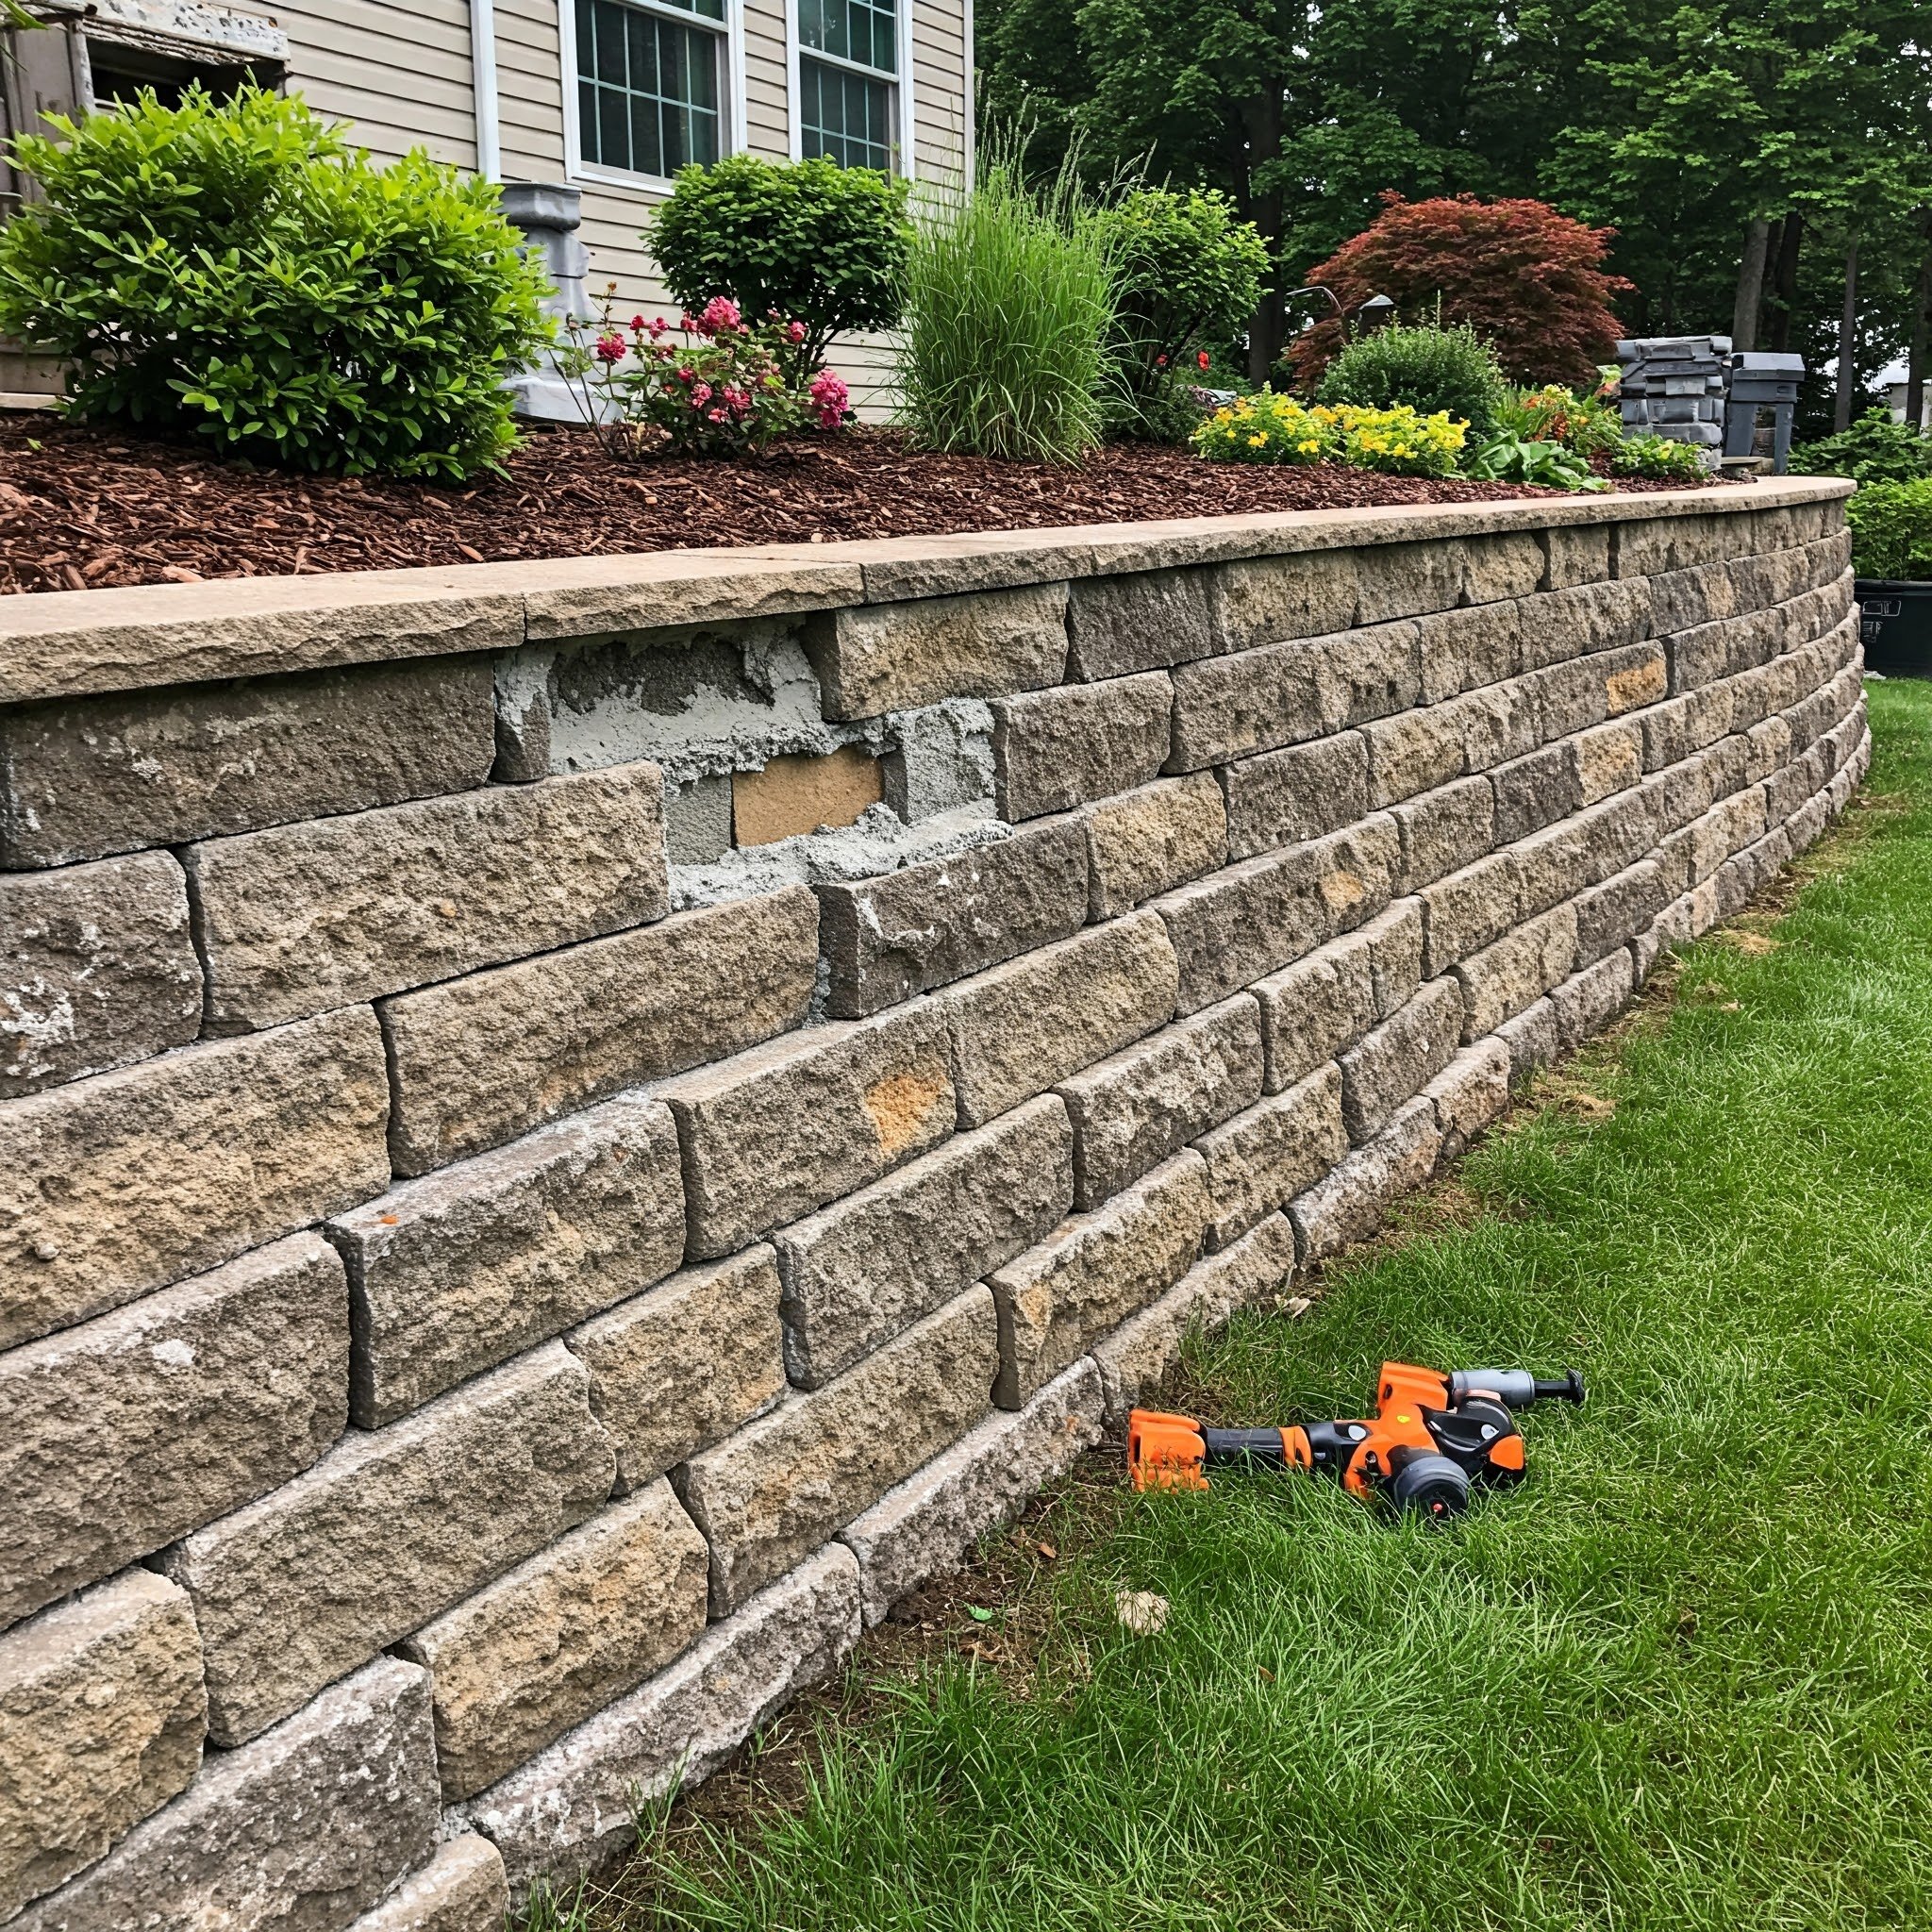
Signs Your Retaining Wall Needs a Makeover
Sometimes, the signs are subtle. Other times, they hit you like a sledgehammer. Either way, early detection is paramount for preventing worse damage down the line. Ready to play detective?
Cracks and Fissures
Don’t brush off those hairline cracks. Over time, they can expand like a fault line, allowing water and pests to worm their way in.
If you notice large cracks, that’s a sure sign the soil pressure might be too high or the foundation is compromised.
Tilting or Leaning
If your wall has started doing the Leaning Tower of Pisa impression, something’s off with its support system.
Excessive leaning often indicates poor drainage or inadequate footings.
Bulging or Bowing
Concrete blocks popping out? That could point to water buildup pushing the wall outward.
A bulge that’s left ignored can weaken the entire structure.
Water Damage
Damp spots, discoloration, or moss growth are your wall’s way of saying, “Help me!”
Inadequate drainage leads to water pooling behind the wall, which ramps up pressure and accelerates deterioration.
Separating or Shifting Stones
Mortar joints that are pulling apart might hint at freeze-thaw damage or ground movement.
Stones shifting out of alignment can create gaps, making the wall even more vulnerable to collapse.
If your wall is guilty of any of these warning signs, don’t just sigh and hope it’ll go away—because it won’t. With some elbow grease and proper know-how, you can restore your wall’s strength and keep your property looking sharp.
Retaining Wall Repair Tips for Lasting Durability
Alright, time to tackle the star of the show: how do we fix those walls and keep ‘em in tiptop shape? The following retaining wall repair tips for lasting durability will help you shore up weak spots, enhance structural integrity, and prevent further damage. Buckle up, because we’re going in depth.
1. Assess the Damage Thoroughly
First things first—don’t just jump in with a bucket of mortar and call it a day. You’ll need a meticulous inspection to pinpoint what’s causing the issue. Is it drainage? Foundation? Or maybe subpar materials were used during construction? Here’s how you can do it right:
Check for Loose Stones or Blocks: Lightly tap on suspect areas; if it sounds hollow, moisture might have compromised the mortar.
Observe Surface Drainage: Notice any standing water or poor runoff paths behind the wall? That’s a clue.
Examine the Base: Dig a small trench at the wall’s foot to see if the foundation or footing is in good shape.
Gather all this intel before you break out the tools—trust me, it’ll save you heartache (and money) later on.
2. Improve Drainage Systems
Retaining walls and water might as well be sworn enemies. When water collects behind the wall, pressure skyrockets. Next thing you know, cracks start forming, and the wall leans more than a tired donkey.
Install Drainage Pipes: Perforated pipes behind the wall channel water away from the structure, reducing hydrostatic pressure.
Add Gravel Backfill: A layer of gravel creates gaps for water to seep through, ensuring it doesn’t pool behind the wall.
Check Weep Holes: Some walls feature holes to release water. Keep them free of debris, or you’re just inviting trouble.
The better your drainage, the less likely your wall will end up waterlogged and begging for mercy.
3. Shore Up the Foundation
A wall is only as strong as the ground it stands on. If the foundation’s compromised—maybe due to shifting soil, erosion, or poor initial construction—it’s time to reinforce.
Excavate and Rebuild: In extreme cases, you’ll need to dig up the base, add more robust footings, or recompact the soil.
Add Reinforcement Bars (Rebar): Concrete or cinder block walls often benefit from steel bars embedded in them for extra strength.
Stabilize Slopes: If your wall is on a slope, consider terracing the land or installing geogrid reinforcements to hold the soil in place.
Look at it this way: you wouldn’t build a house on shaky ground. The same logic applies to your retaining wall.
4. Use the Right Repair Materials
When repairing cracks or loose stones, don’t settle for the cheapest or most convenient fix—it’ll come back to haunt you. Choose materials designed for retaining walls, which are typically stronger and more weather-resistant.
Hydraulic Cement: This fast-setting cement can plug active leaks and fill cracks that are subject to water flow.
Polyurethane Sealants: Ideal for expansion joints or hairline cracks, providing flexible and durable sealing.
High-Strength Mortar: If you’re resetting stones or bricks, use a mortar mix that’s labeled for structural applications.
A mismatched repair material can actually exacerbate damage, so read those labels carefully before committing.
5. Reinforce with Tie-Backs or Anchors
If you’ve got a leaning or bowing wall, tie-backs or anchors can provide that extra oomph to pull it back into place. Essentially, these systems attach the wall to stable ground behind it.
Helical Tie-Backs: Twisted steel rods that are screwed into the soil behind the wall, then tightened to straighten or stabilize it.
Deadman Anchors: A concrete block (or similar anchor) is buried in solid ground and connected to the wall via a steel rod.
Earth Anchors: These plates anchor into the soil, distributing load and holding the wall upright.
It might sound like rocket science, but with professional help or a bit of heavy-duty DIY knowledge, anchors can be a total game-changer.
6. Opt for Geogrid Reinforcement
Geogrid is a synthetic mesh that gets layered between soil and the retaining wall. It disperses loads more evenly, offering better stability.
Layer It Right: Place geogrid in horizontal layers between backfill levels.
Choose Proper Strength: Different geogrids have different load ratings, so match the product to your wall’s needs.
Ensure Adequate Overlap: Overlapping the edges ensures a continuous layer of support.
Combined with a robust drainage system, geogrid can prolong your wall’s lifespan significantly.
7. Give It a Facelift
So, you’ve done the heavy lifting—why not make the wall look prettier while you’re at it? A gorgeous façade isn’t just about vanity; it can also offer an extra layer of weather protection.
Stone Veneers: Lightweight, natural-looking stone tiles that adhere to the surface, improving both appearance and durability.
Staining or Painting: High-quality masonry paints or stains can shield the wall from moisture and UV damage.
Protective Sealants: A clear sealant helps keep water out, preventing freeze-thaw damage in colder climates.
Whether you go for a rustic stone vibe or a sleek modern finish, a renovated façade can keep your wall looking spiffy and help it stand the test of time.

Maintenance Hacks to Keep Your Wall Standing Tall
Once you’ve spruced up your wall using the above retaining wall repair tips for lasting durability, you’ll want to keep it that way for as long as possible. Here are some handy maintenance hacks.
Regular Inspections: Check for cracks, leaning, or mortar deterioration at least twice a year.
Clear Weep Holes and Gutters: Don’t let leaves or dirt clog vital drainage paths. Water buildup is a silent killer.
Trim Nearby Vegetation: Roots from large shrubs or trees can push against the wall. Keep them a safe distance away.
Address Damage Promptly: Minor cracks can escalate quickly, especially in regions with freeze-thaw cycles. Fix them ASAP.
Reapply Sealants: If you’ve used a protective coating, reapply it every few years to maintain that water resistance.
A little vigilance goes a long way—think of it like brushing your teeth daily to avoid a costly dentist visit.
Additional Retaining Wall Repair Tips for Lasting Durability
Oh, you thought we were done? Not quite! While the main repair strategies have been laid out, here are a few extra pointers to keep your wall in mint condition.
Keep It Clean: Remove dirt and debris from the surface regularly. It might sound basic, but build-up can trap moisture and create conditions for moss or mold to thrive.
Watch for Freeze-Thaw Cycles: In colder climates, water can seep into tiny cracks, freeze, and expand—making cracks bigger. Use a water-repellent sealer to fend off this sneaky damage.
Mind the Slope Above and Below: If the land above the wall is prone to erosion, add mulch or groundcover plants to hold it in place. Likewise, ensure the land below the wall is stable and not eroding away.
By adopting these additional steps, your wall’s going to be as sturdy as a fortress. And remember, a little foresight can keep repairs from turning into replacements—never a cheap endeavor!
Conclusion
Retaining walls might not always get the limelight in a landscaping project, but boy, do they deserve center stage when things start to go south. Cracks, bulges, and water damage can be alarming, but with the right approach, you can tackle these issues head-on. From thorough inspections to improved drainage systems, from sturdy anchors to the best materials for patching up cracks, there’s no shortage of retaining wall repair tips for lasting durability that can save you time, money, and stress.
By taking a proactive stance—regular inspections, prompt repairs, and mindful landscaping—you’ll ensure that your retaining wall stands tall for years to come. No more sleepless nights worrying about your patio ending up in your neighbor’s yard. Armed with these strategies, you’re ready to roll up your sleeves, grab your tools, and show that wall who’s boss.
So go on—give your retaining wall the TLC it deserves. You’ve learned the ropes, you’ve got the skills, and with a little perseverance, you’ll have a structure that’s not just functional, but a true asset to your property. Here’s to a wall that lasts longer than your favorite pair of jeans!
Frequently Asked Questions
Q1: How can I tell if my wall’s drainage system is faulty?
A1: If you notice standing water behind the wall or constant dampness on its surface, you’ve likely got a drainage issue. Water pooling near the base or coming through cracks is another red flag.
Q2: Are DIY repairs effective, or should I hire a pro?
A2: It depends on the severity of the damage and your skill set. Minor cracks and simple mortar repairs can be tackled by enthusiastic DIYers. However, if the wall is severely leaning or has significant structural issues, calling in a professional might be your best bet.
Q3: How often should I inspect and maintain my retaining wall?
A3: Give it a thorough once-over at least twice a year—preferably in spring and fall. After heavy rainfall or extreme weather, do a quick check to spot any changes or new cracks.
Q4: Can landscaping around the wall affect its integrity?
A4: Absolutely. Plant roots can put pressure on the wall, and poor drainage from nearby landscaping can lead to water buildup. Be mindful of what you plant and where, and ensure there’s proper drainage away from the wall.
Q5: Is it necessary to reinforce every retaining wall with tie-backs?
A5: Not necessarily. Tie-backs or anchors are most commonly used for walls that show signs of bowing or leaning. If you’ve got a well-designed wall with good drainage and no structural issues, you probably don’t need them.
Stay up to date with our latest ideas!