How to Fix a Leaky Outdoor Faucet: Step-by-Step Guide
Is your outdoor faucet leaking? Don't worry! Learn how to fix a leaky outdoor faucet with our easy, step-by-step guide. Save water, avoid costly repairs, and restore your faucet to full function today.
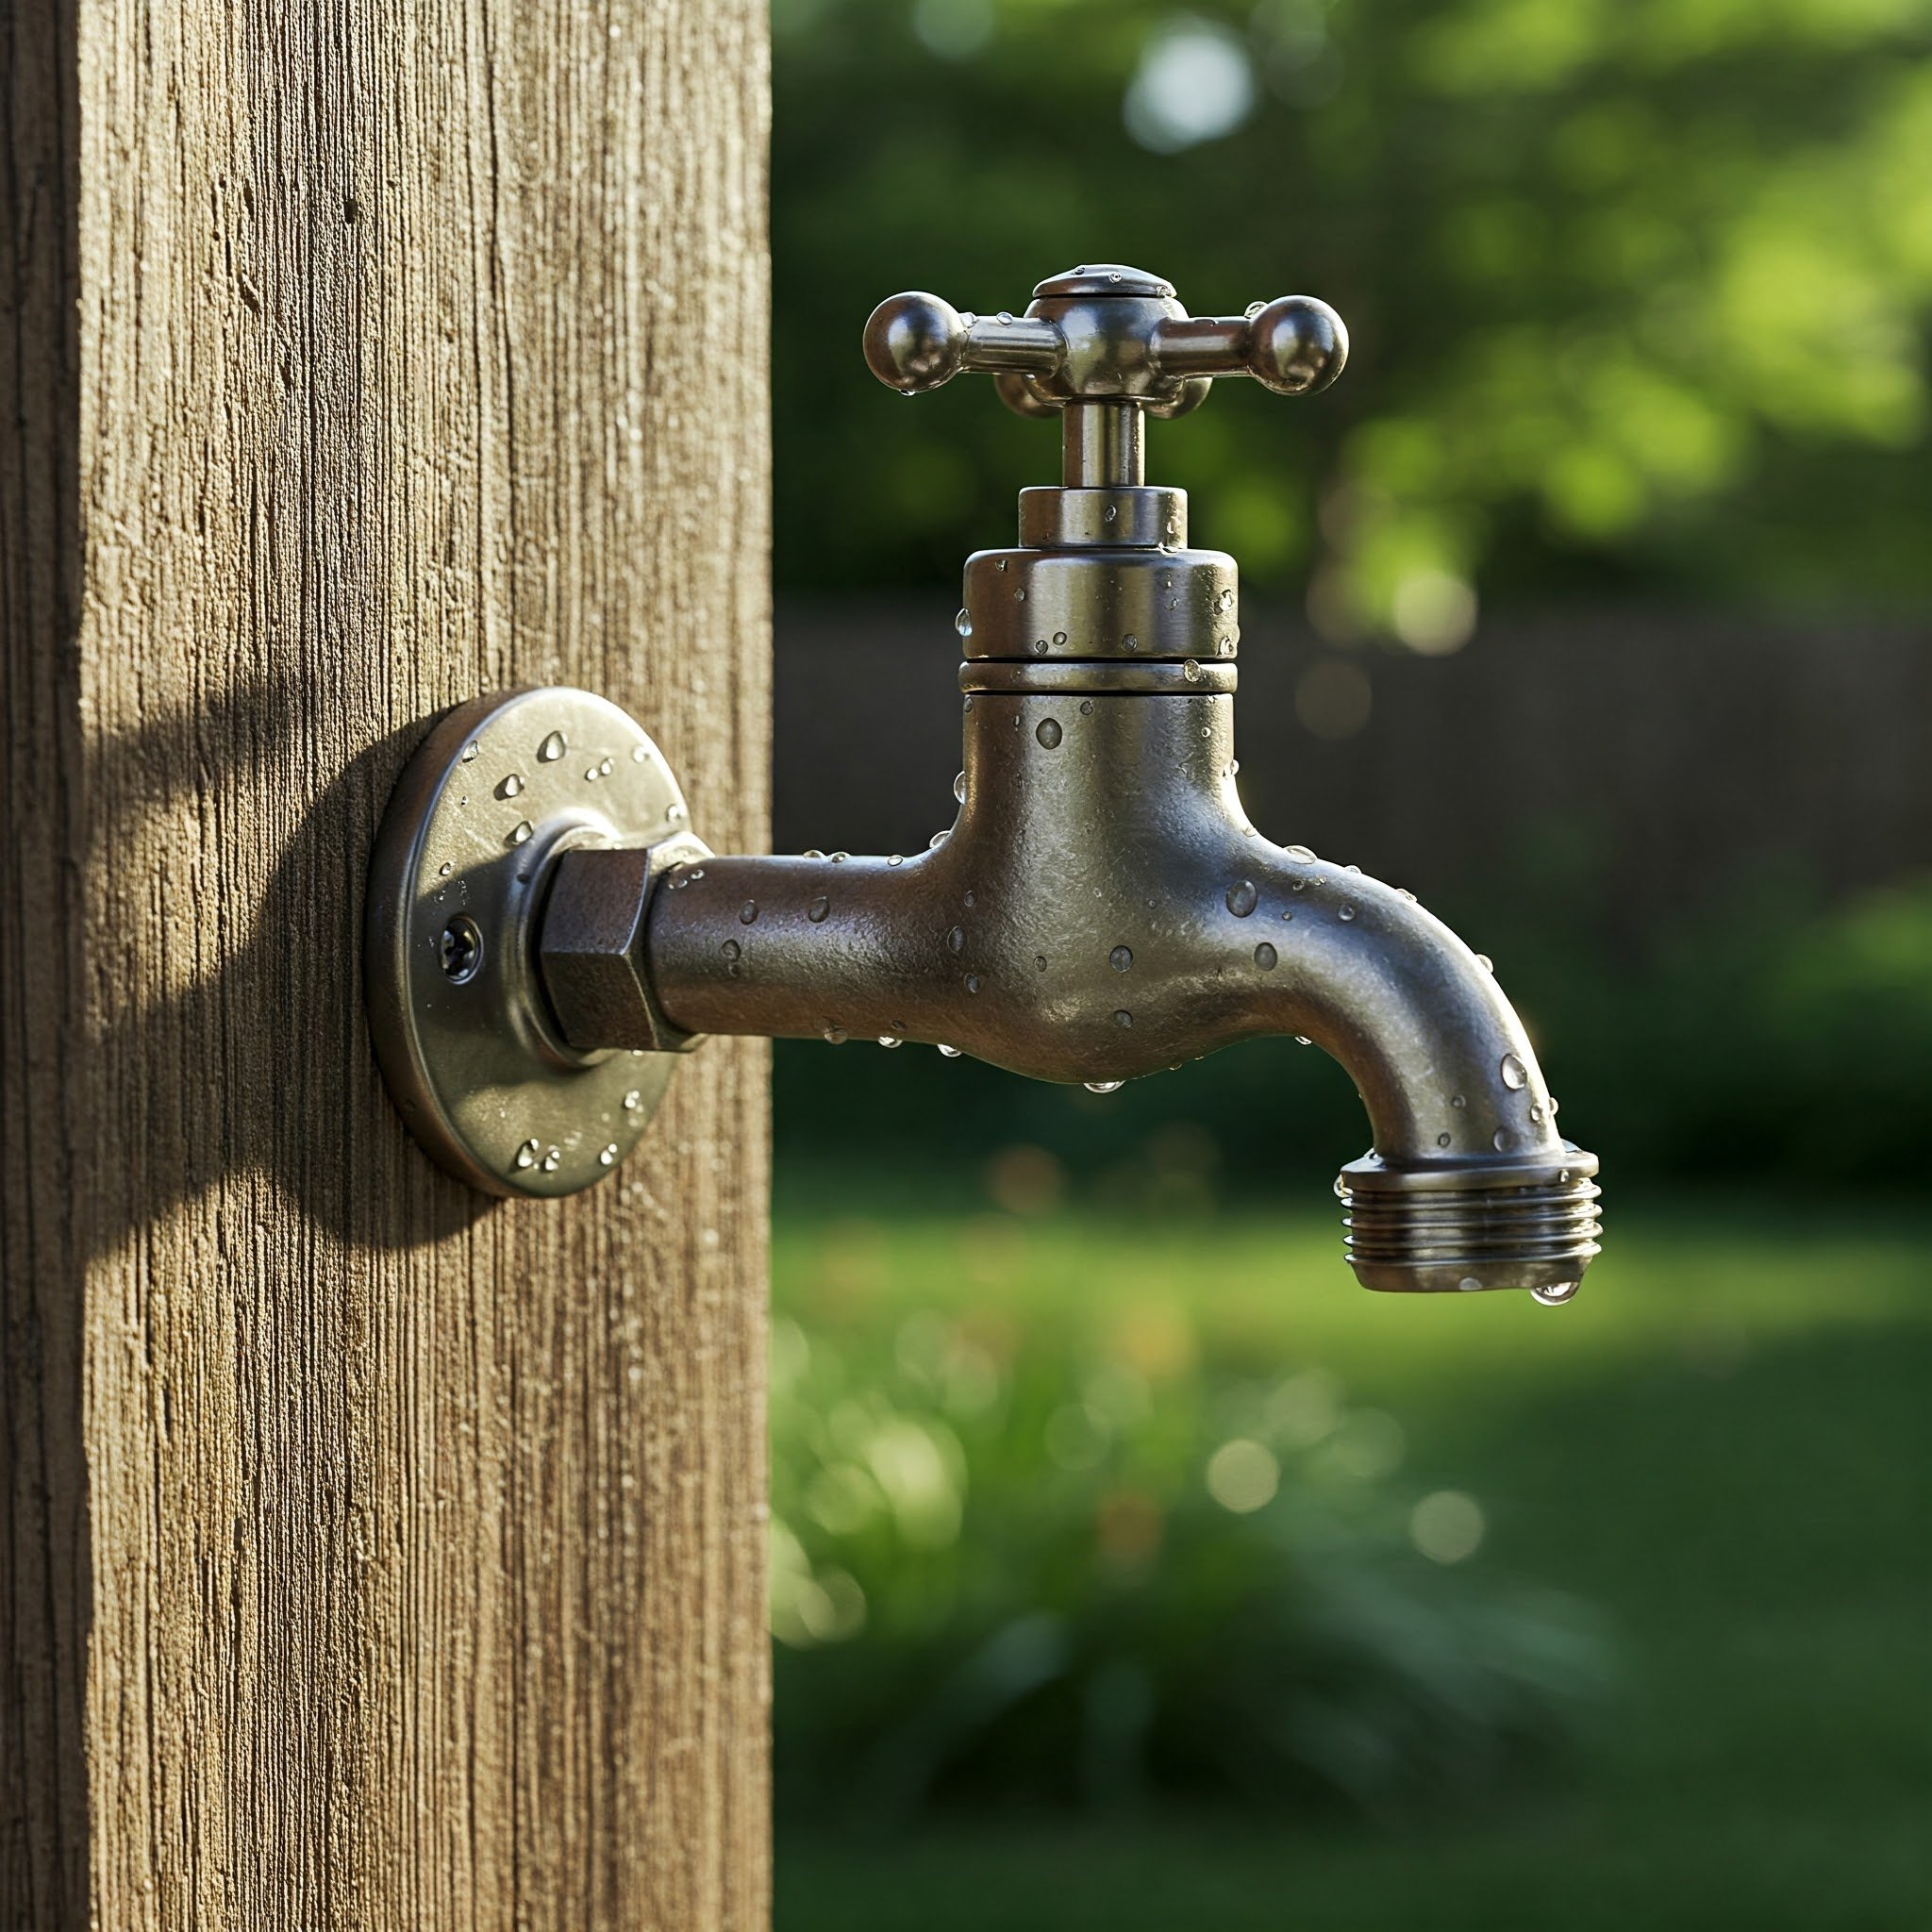
Dealing with a leaky outdoor faucet? It’s one of those annoying little home repairs that tends to sneak up on you, right when you least expect it. A small drip may seem harmless at first, but over time, that slow leak can waste a significant amount of water and money. Plus, leaving a leaky faucet unattended can lead to more serious issues, like rusting pipes or even water damage to your walls or garden.
The good news? Fixing a leaky outdoor faucet is totally within your DIY capabilities—and it’s usually much easier than you might think. In this guide, we’ll walk you through the entire process, step by step, so you can tackle the problem with confidence and restore your faucet to working order. Whether you’re a seasoned pro or a first-time DIYer, this guide will have you fixing that leak in no time!
How to Fix a Leaky Outdoor Faucet: Step-by-Step Guide
Before you dive in, let’s make sure you have everything you need. Gathering your tools and understanding the problem are key to completing this project successfully.
Tools and Materials You’ll Need
To fix a leaky outdoor faucet, you’ll need a few basic tools. Here’s your shopping list:
Wrench (adjustable or pipe wrench)
Screwdriver (flathead or Phillips, depending on your faucet)
Replacement washers (or an entire faucet repair kit)
Plumber’s tape (Teflon tape)
Needle nose pliers
Flashlight (if working in dim areas)
Bucket or towel (to catch any water)
With everything in hand, let’s break down the process.
Step 1: Turn Off the Water Supply
Before you get started, you’ll want to cut off the water supply to the faucet. Look for the main shutoff valve for the outdoor faucet, which is usually located near your home's water main.
Why does this matter?
Turning off the water supply is the most crucial step when fixing a leaky outdoor faucet, as it prevents a mini flood when you open the faucet and begin disassembling it. Once you’ve located and shut off the valve, remember to turn the faucet on to release any remaining water pressure in the pipes. You should only get a few drips at this point—if water continues to pour out, it means the water supply hasn’t been fully turned off. This could lead to unnecessary mess and wasted water, so it’s important to double-check the valve before proceeding. Taking this precaution ensures you can work on the faucet safely and without any unwanted surprises!
Step 2: Inspect the Faucet
Now that the water supply is turned off, take a close look at the faucet to identify where the leak is coming from. Is the drip coming from the handle or the spout? Sometimes, the issue might not even be with the faucet itself, but with the hose connection. If the leak is at the handle, the problem is likely inside the faucet, specifically with the valve or washer. On the other hand, if the drip is coming from the spout, it's usually a sign that the washer or O-ring needs to be replaced. Once you've figured out where the leak is originating, you can move on to disassembling the faucet and addressing the issue directly.
Step 3: Remove the Handle
Using your screwdriver—either flathead or Phillips depending on the type of faucet—remove the screw that holds the handle in place. If the handle doesn’t come off easily, gently use a wrench to give it a little wiggle, but be careful not to force it too much, as you don’t want to damage any components. Once the handle is removed, you should see the stem or valve, which controls the water flow. This is where the problem likely resides, so it's time to disassemble it further. Take your time to inspect this part carefully, as it often contains the damaged washer or valve that’s causing the leak. Once you’ve identified the issue, you’ll be ready to move on to replacing the faulty parts.
Step 4: Take Apart the Faucet Valve
With the handle removed, it's time to take apart the valve. Using your adjustable wrench or pipe wrench, carefully unscrew the valve stem from the faucet body. Be gentle but firm—if the valve is stuck, a little extra torque may be needed, but don’t force it. Once you’ve removed the stem, you’ll likely find a washer or O-ring inside, which may have worn down over time and is causing the leak. These parts are the most common culprits for leaks in outdoor faucets. Inspect them carefully, and if they look cracked, flattened, or damaged in any way, it’s time to replace them. This step is crucial for fixing the leak and restoring the faucet to full functionality.
Important Tip:
As you disassemble the faucet, make sure to keep track of all the small parts. It’s easy to lose a washer, screw, or other tiny components during the process, and losing them could delay your repair. To avoid confusion later on, organize the parts in the order they were removed. You can use a small container or even lay them out on a clean cloth to keep them in place. This simple step will save you time and frustration when you start putting everything back together. By keeping everything in the right order, you'll ensure the reassembly process goes smoothly and the faucet is correctly reassembled, making your repair job much easier and more efficient.
Step 5: Replace the Washer or O-Ring
Now comes the fun part—replacing the worn-out washer or O-ring! Take the old washer to your local hardware store to find an exact match, or buy a faucet repair kit that includes multiple sizes. If you’re replacing an O-ring, which is a circular rubber seal, use needle-nose pliers to carefully remove the old one and install the new one in the same spot. For washers, simply remove the old one and place the new one in its place. To ensure a tighter seal and prevent future leaks, consider applying plumber’s tape around the threads of the valve before reassembling the faucet. This small step helps create a more secure connection and ensures that the faucet works properly once reassembled.
Step 6: Reassemble the Faucet
Now that you’ve replaced the damaged parts, it’s time to reassemble the faucet. Start by reinserting the valve stem back into the faucet body. Use your wrench to tighten it securely, but be careful not to overtighten, as this can damage the components or cause them to wear out prematurely. Next, reattach the handle and secure it with the screw you removed earlier. Once everything is back in place, take a moment to do a final check. Make sure all the parts are fitting properly and that nothing is loose. This quick inspection ensures that the faucet is reassembled correctly and ready to function properly without leaks. Once you’re satisfied, you’re all set to turn the water back on!
Step 7: Turn the Water Back On
Now comes the moment of truth—turn the water supply back on and test your repair. Slowly open the faucet, checking for any signs of leaks as the water flows through. Turn the faucet on and off a few times to make sure everything is working as it should. If the faucet still drips, you might need to adjust the parts slightly or, in some cases, replace other components like the valve seat or stem. However, if the water flows smoothly with no leaks, then congratulations! You’ve successfully fixed your leaky outdoor faucet. Enjoy your newly repaired faucet, knowing you’ve saved water, money, and avoided costly repairs with just a little DIY know-how.
How to Prevent Future Leaks
Regular maintenance is key to keeping your outdoor faucet in good working condition. Periodically inspect the faucet for any signs of wear and tear, especially the washers and O-rings, and replace them before they lead to leaks. This simple step can save you from future repairs. Additionally, when reassembling the faucet, using Teflon tape (plumber's tape) around the threads can help create a tighter seal, preventing potential leaks down the line. If you live in a colder climate, it's important to shut off your outdoor water supply in the winter months to avoid frozen pipes, which can crack and lead to serious leaks. These preventive measures ensure your faucet remains leak-free and functional for years to come.

Conclusion
Fixing a leaky outdoor faucet is easier than it may seem and doesn’t have to break the bank. With just a few basic tools and a step-by-step guide, you can quickly restore your faucet to full function, saving both water and money in the process. Regular maintenance and prompt repairs will ensure that your outdoor plumbing stays in good condition for years to come, preventing costly issues down the road. So, grab your tools, follow the outlined steps, and put an end to that annoying drip once and for all. Not only will your faucet be working like new, but your outdoor space will also thank you for the care and attention you’ve given it, turning it into a more efficient and enjoyable environment.
Read next: How to Replace an Outdoor Faucet: Step-by-Step Guide
Frequently Asked Questions
What if my outdoor faucet continues to leak after replacing the washer?
If the leak persists, it might be an issue with the valve seat or the stem. You may need to replace these components or seek professional help.
Can I use any washer to fix a leaky faucet?
It’s best to use the exact size and type of washer specified for your faucet to ensure a tight seal.
How often should I check my outdoor faucets for leaks?
Check your faucets at least twice a year—preferably before and after the winter season—especially if you live in an area with freezing temperatures.
Is it difficult to replace the faucet completely if the leak doesn’t stop?
Replacing the faucet is a relatively simple job. Most outdoor faucets can be unscrewed and replaced with a new one in about an hour.
Why is my faucet leaking even though it’s turned off completely?
A leak even when the faucet is off may indicate a problem with the valve seat or stem, requiring a deeper repair or replacement.
Stay up to date with our latest ideas!