How to Epoxy a Garage Floor for a Durable Finish
Transform your garage with a durable epoxy floor finish! This comprehensive guide walks you through the steps of prepping, applying, and maintaining your epoxy-coated garage floor for long-lasting results.
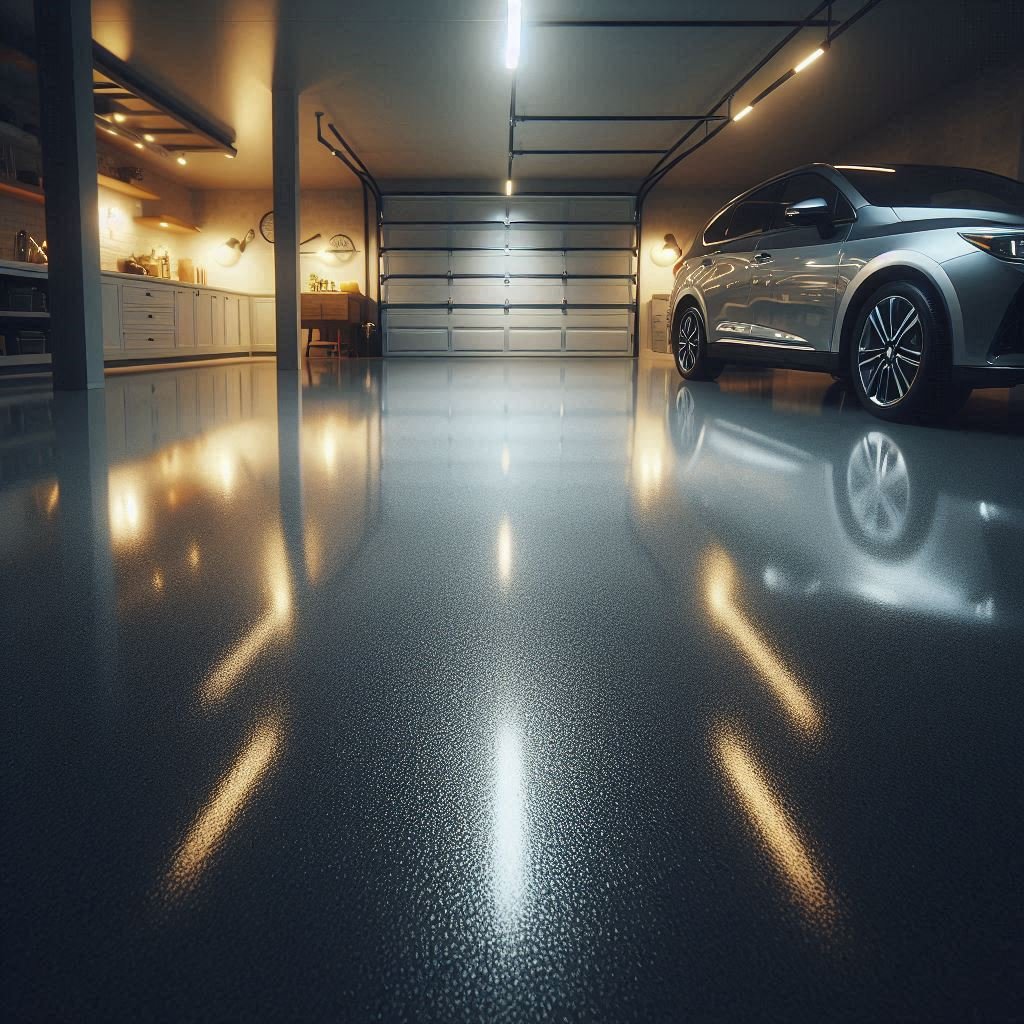
If your garage floor looks more like a battlefield than a sanctuary for your car and tools, it might be time for a makeover! One of the best ways to give your garage a new lease on life is by applying an epoxy floor coating. Not only does an epoxy finish provide a sleek, polished look, but it also offers exceptional durability, resistance to stains, and protection against wear and tear.
In this guide on How to Epoxy a Garage Floor for a Durable Finish, we’ll walk you through every step of the process—from preparation to application and maintenance. So, whether you’re a seasoned DIYer or a first-timer, roll up your sleeves and get ready for a transformation!
Why Choose Epoxy for Your Garage Floor?
1. Durability
Epoxy is incredibly durable. Once cured, it forms a hard, resilient surface that can withstand heavy traffic, impacts, and abrasions. This means fewer worries about scratches or chips from tools or vehicles.
2. Stain Resistance
Epoxy flooring is resistant to most chemicals, oils, and stains, making it an excellent choice for garages where spills are bound to happen. Cleanup is a breeze, as you can easily wipe up any spills without worrying about permanent damage to the surface.
3. Aesthetic Appeal
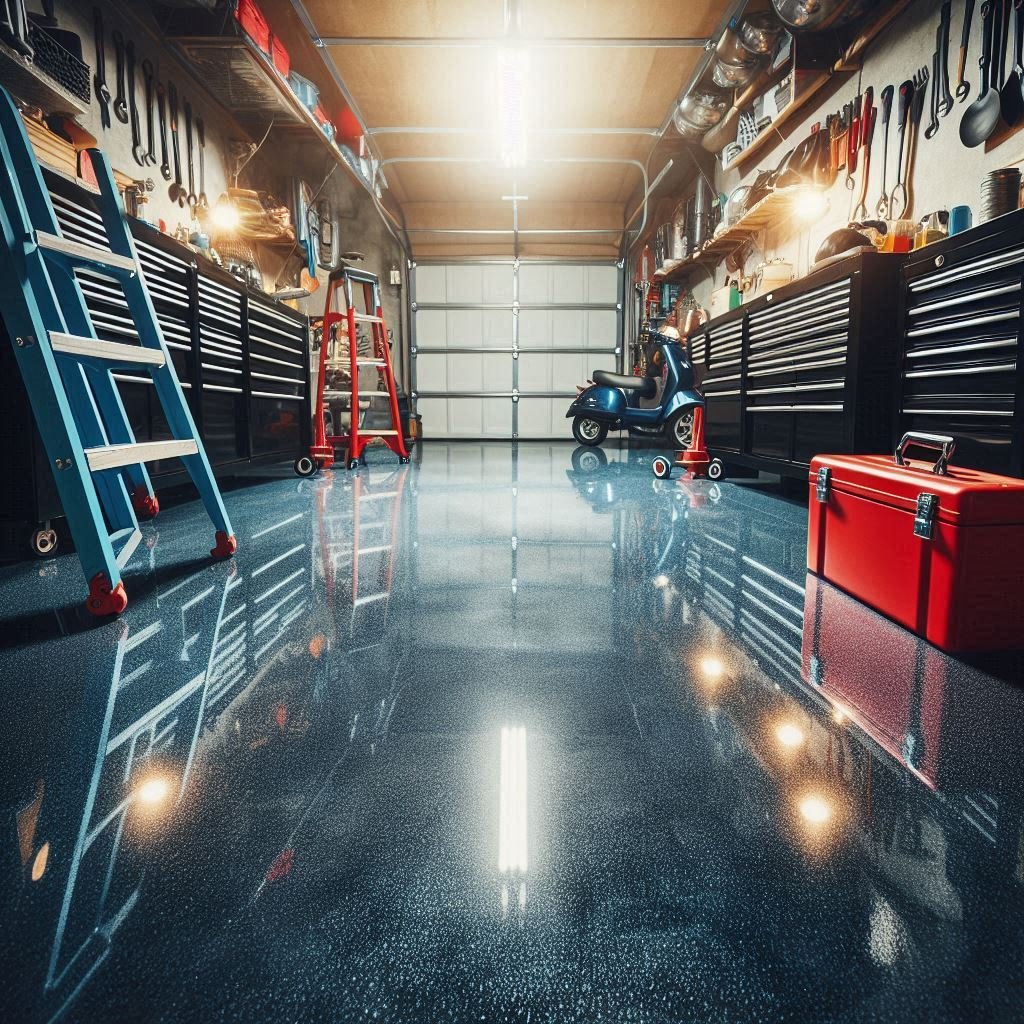
With a variety of colors and finishes available, epoxy can elevate the overall look of your garage. You can choose from solid colors, metallics, or even add decorative flakes for a custom finish.
4. Easy Maintenance
An epoxy floor is easy to clean, requiring just a simple sweep and mop to maintain its appearance. This low-maintenance feature ensures your garage remains fresh and tidy, making it an ideal flooring option for busy spaces where convenience is key.
How to Epoxy a Garage Floor for a Durable Finish
Step 1: Gather Your Supplies
Before diving in, you’ll want to gather all the necessary materials and tools. Here’s what you’ll need:
Supplies:
Epoxy floor coating kit (includes resin and hardener)
Decorative flakes (optional)
Concrete etcher or grinder
Primer (if required)
Paint roller with extension handle
Paintbrush
Squeegee
Tape measure
Safety goggles and gloves
Broom and dustpan
Vacuum cleaner or shop vac
Step 2: Prepare the Garage Floor
Proper preparation is crucial for a successful epoxy application. Follow these steps to ensure your floor is ready:
1. Clear the Garage
Remove Everything: Take out all items from the garage, including tools, boxes, and vehicles. You want a clean slate to work with!
2. Clean the Floor
Sweeping: Sweep the floor to remove loose dirt and debris.
Degreasing: Use a degreaser to clean any oil stains. Allow it to sit for a few minutes, scrub with a stiff brush, and then rinse with water.
3. Repair Cracks and Pits
Fill Any Holes: Inspect the floor for cracks or pits. Use a concrete patching compound to fill them in. Follow the manufacturer’s instructions and let it dry completely before proceeding.
4. Etch the Concrete
Concrete Etching: To promote adhesion, etch the surface of the concrete. You can use a concrete etcher or grinder. If using an etching solution, follow the instructions carefully. Rinse thoroughly and allow the floor to dry completely.
Step 3: Apply the Epoxy Primer (Optional)
While some epoxy kits include a built-in primer, applying a separate primer can significantly enhance adhesion. This extra step ensures a stronger bond between the epoxy and the concrete surface, leading to a more durable and long-lasting finish for your garage floor.
1. Roll On the Primer
Use a Paint Roller: Apply the primer using a paint roller with an extension handle. Work your way from the back of the garage toward the exit to avoid walking on the freshly primed surface.
2. Let It Dry
Follow Drying Times: Allow the primer to dry according to the manufacturer’s instructions before proceeding to the epoxy application.
Step 4: Mix the Epoxy
Now it’s time for the main event! Follow these steps to mix your epoxy coating:
1. Read the Instructions
Manufacturer’s Guidelines: Every epoxy kit is different, so be sure to read the instructions provided by the manufacturer carefully.
2. Mix the Components
Combine Resin and Hardener: In a clean bucket, mix the epoxy resin and hardener together. Stir well for the recommended time, ensuring it’s thoroughly combined. This is where the magic happens!
Step 5: Apply the Epoxy Coating
You’re ready to apply the epoxy! Here’s how to do it:
1. Start with Edges and Corners
Brush First: Use a paintbrush to apply epoxy to edges and corners. This ensures every nook and cranny gets a good coating.
2. Use a Roller for the Main Area
Roll On the Epoxy: Pour a small amount of mixed epoxy onto the floor and use a paint roller to spread it evenly. Work in sections, rolling the epoxy into a smooth, even coat.
3. Add Decorative Flakes (Optional)
Sprinkle Flakes: If you’re using decorative flakes, sprinkle them over the wet epoxy while it’s still tacky. This adds texture and style to your floor.
4. Allow to Cure
Follow Curing Times: Allow the first coat to cure according to the manufacturer’s instructions. Depending on temperature and humidity, this may take several hours to a day.
Step 6: Apply a Second Coat
Once the first coat has fully cured, it's time to apply a second coat of epoxy for enhanced durability. This additional layer not only strengthens the floor but also provides a more polished finish, ensuring that your garage floor can withstand heavy use and potential damage over time.
1. Lightly Sand the First Coat
Sanding for Adhesion: Lightly sand the surface of the first coat to promote adhesion for the second coat. Use a fine-grit sandpaper and vacuum the dust afterward.
2. Repeat the Application Process
Follow the Same Steps: Mix and apply the second coat just like you did the first, using a roller and brush. Remember to add more decorative flakes if desired!
3. Final Curing
Let It Cure: Allow the second coat to cure fully before using the garage. This might take a couple of days, depending on the product and environmental conditions.
Step 7: Maintenance and Care
Congratulations! You’ve successfully epoxied your garage floor. Now, let’s discuss maintenance to ensure it remains in top condition for years to come. Regular cleaning, quick spill management, and occasional resealing will help maintain the floor’s shine and durability, keeping your garage looking fresh and inviting.
1. Regular Cleaning
Sweep and Mop: Keep your floor clean by sweeping regularly and mopping with a mild detergent. Avoid harsh chemicals that could damage the finish.
2. Avoid Heavy Impacts
Use Caution with Heavy Objects: While epoxy is durable, be careful not to drop heavy tools or equipment directly onto the floor, as this could cause chips or cracks.
3. Reapply When Necessary
Watch for Wear: Over time, if you notice wear or discoloration, consider reapplying a new coat of epoxy to maintain its protective qualities.
Conclusion
With this guide on How to Epoxy a Garage Floor for a Durable Finish, you’re well-equipped to take on this rewarding DIY project. Not only will you enhance the look of your garage, but you’ll also create a durable, easy-to-maintain surface that can withstand the test of time.
Remember, preparation is key—take your time during each step, from cleaning the surface to allowing adequate curing time. With a little patience and effort, you’ll end up with a stunning garage floor that’s sure to impress.
So, roll up those sleeves and get to work! Your dream garage is just an epoxy application away! Happy flooring!
Frequently Asked Questions
1. How long does an epoxy garage floor last?
When properly installed and maintained, an epoxy garage floor can last 10 to 20 years, depending on usage and environmental conditions.
2. Can I use my garage immediately after applying epoxy?
It’s best to wait at least 24 to 72 hours after applying the final coat before using your garage, depending on the manufacturer’s recommendations.
3. Can I paint over epoxy?
While it's technically possible, it's not recommended. Epoxy creates a smooth surface that paint may struggle to adhere to. If you want to change the color, consider applying a new layer of epoxy instead.
4. What if my garage floor has existing damage?
If your garage floor has severe cracks or damage, it’s best to repair those issues before applying epoxy. Use a concrete patching compound for any major repairs.
5. Is epoxy flooring slippery?
Epoxy floors can be slippery when wet. To reduce the risk, consider adding a non-slip additive to the epoxy before application, or use textured flakes for added grip.


