How to Make DIY String Light Poles for Outdoor Spaces
Discover creative, step-by-step instructions on How to Make DIY String Light Poles for Outdoor Spaces that will transform your backyard into a dazzling retreat. Uncover tips, tools, FAQs, and expert advice in this ultimate guide!
Imagine this: a cool evening in your backyard, the sky is clear, and your outdoor space is bathed in a warm, enchanting glow. That’s the magic of string lights! But rather than buying expensive pre-made light installations, why not roll up your sleeves and craft your very own string light poles? In this article, we're diving deep into How to Make DIY String Light Poles for Outdoor Spaces—a project that’s as rewarding as it is fun. With a bit of creativity, the right tools, and our handy step-by-step guide, you can turn your plain garden into a luminous haven. So, let’s get cracking and shed some light on this fantastic DIY adventure!
Why String Light Poles Matter for Your Outdoor Spaces
When it comes to outdoor décor, string lights are the unsung heroes. They add charm, set the mood, and can even transform a drab patio into a whimsical wonderland. Here’s why they’re a must-have:
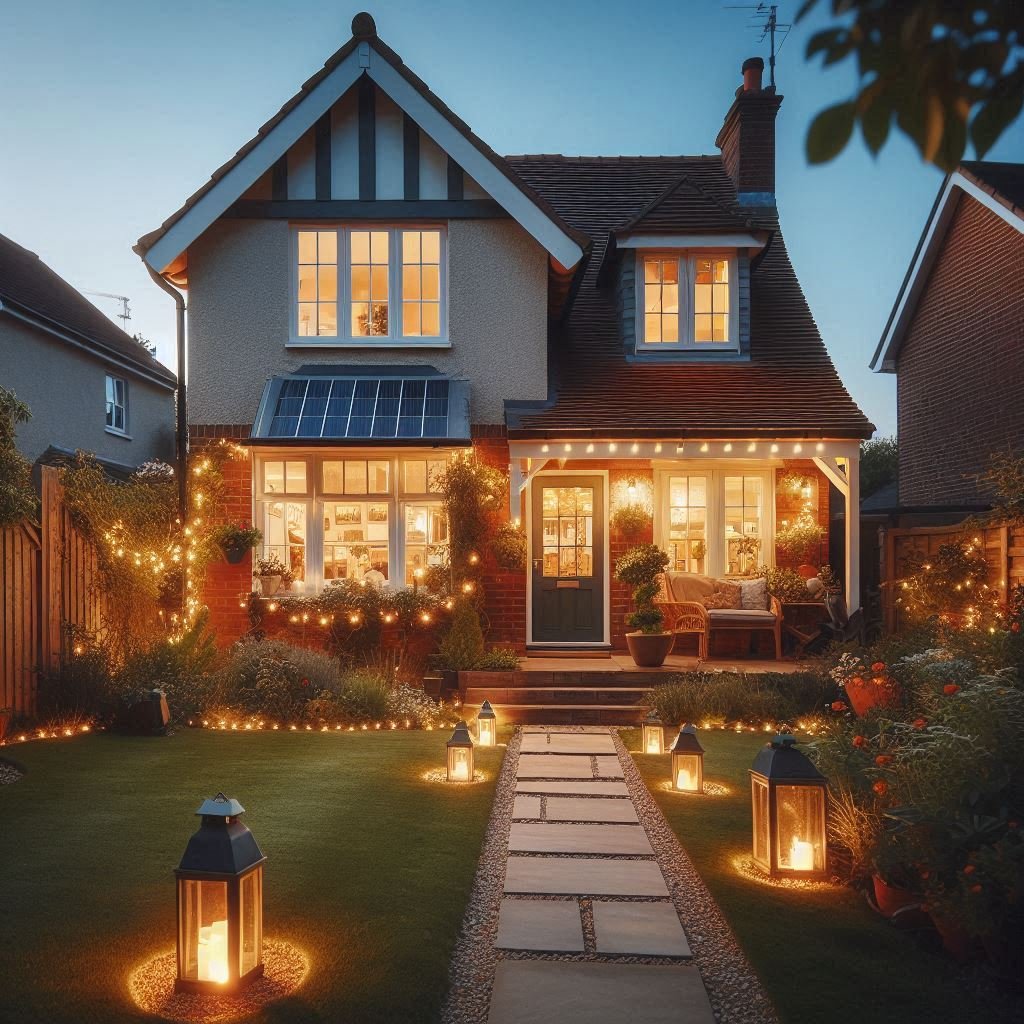
Ambiance Booster: A few twinkling bulbs can make your outdoor area feel cozy, romantic, or even festive.
Versatility: They’re perfect for dinner parties, backyard movie nights, or even a quiet evening with a book.
Cost-Effective: DIY projects save you money while giving you complete creative control.
Customization: You can tailor the design to match your unique style—whether that’s rustic, modern, or eclectic.
So, if you're pondering How to Make DIY String Light Poles for Outdoor Spaces, you're already on your way to creating an enchanting environment that reflects your personal flair.
Planning Your Project: Tools, Materials, and Design Ideas
Before you jump headfirst into your DIY project, it’s crucial to plan out every detail. Preparation is key to a smooth and enjoyable process.
Essential Tools and Materials
Here’s a quick rundown of what you might need:
Wooden or PVC Poles: Choose sturdy materials that withstand weather conditions.
Drill and Screws: For assembling your poles.
String Lights: LED lights are ideal because they’re energy-efficient and long-lasting.
Sand or Concrete: To secure your poles in place.
Paint and Brushes: To add a personal touch with color.
Measuring Tape and Level: Precision matters when aligning your poles.
Cable Ties and Hooks: For hanging and securing the lights.
Safety Gear: Gloves, goggles, and a mask for dust protection during drilling or painting.
Design Ideas to Spark Your Creativity
When it comes to design, the sky’s the limit. Consider these ideas to get your creative juices flowing:
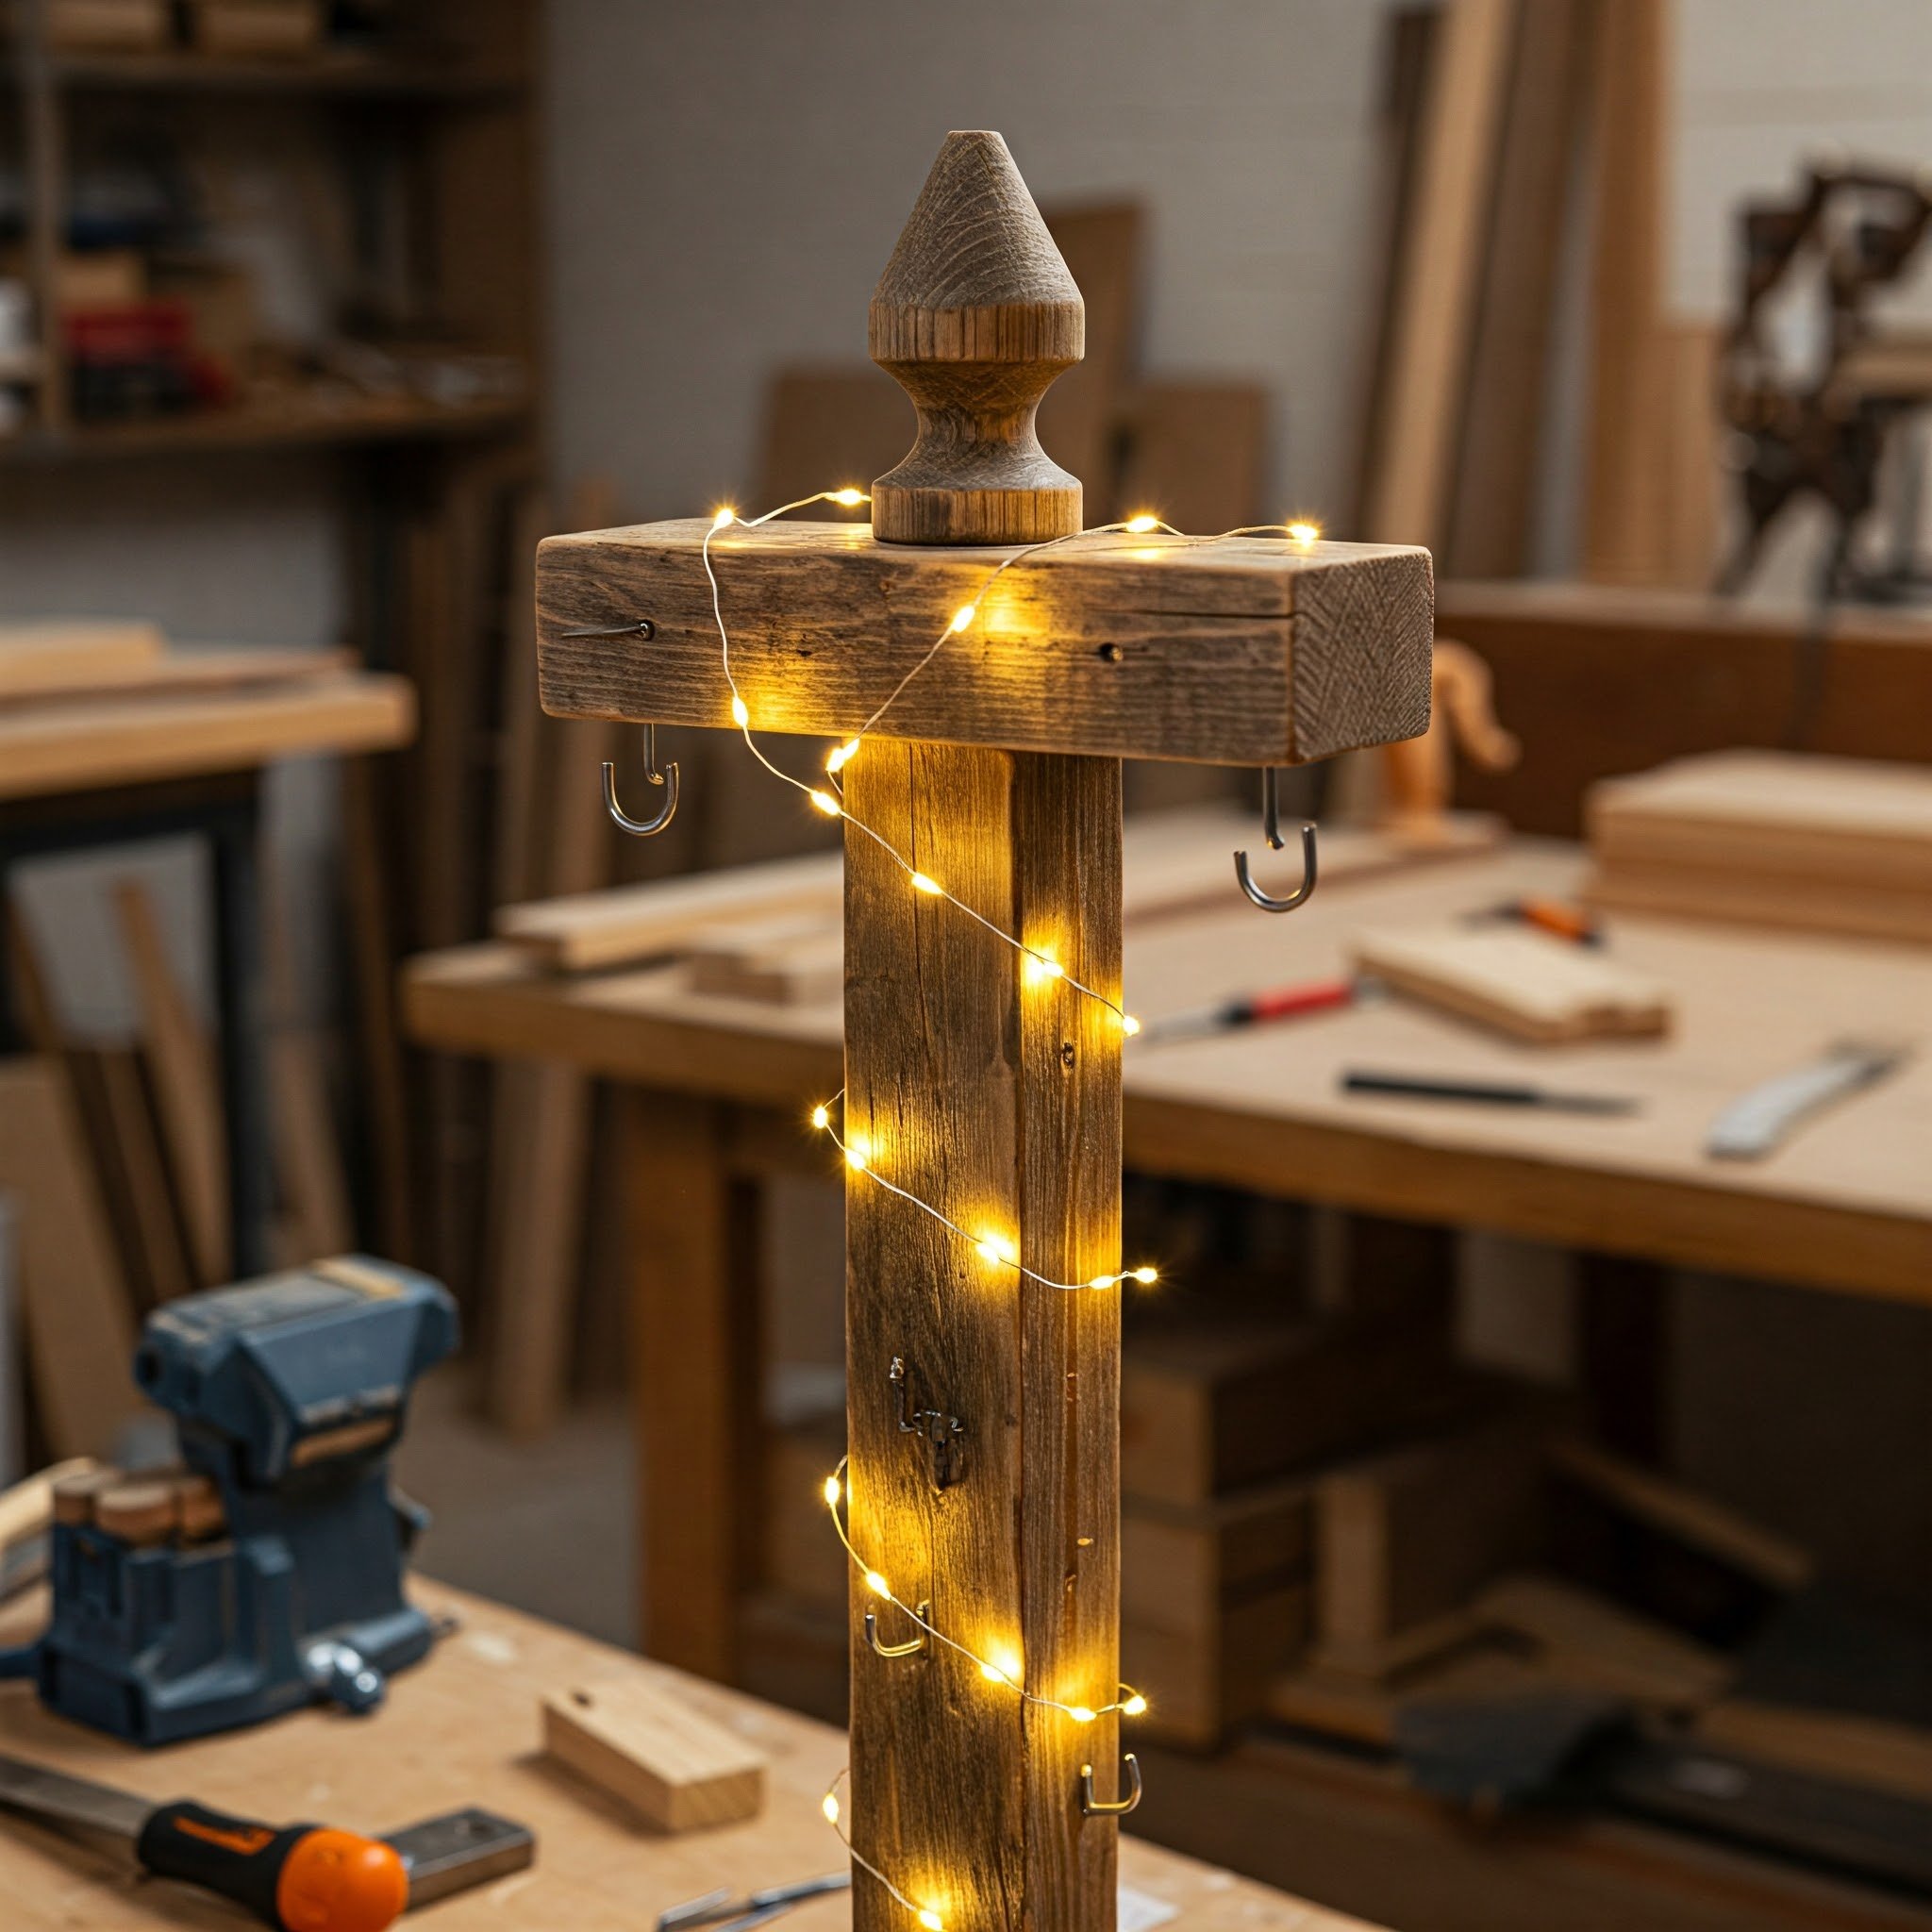
Rustic Charm: Use reclaimed wood for a vintage feel and add twinkle lights to evoke a campfire atmosphere.
Modern Minimalism: Opt for sleek, painted PVC poles with clean lines and subtle lighting.
Whimsical Wonderland: Mix colors, add decorative elements like lanterns or fairy figurines, and create a playful vibe.
Eco-Friendly: Use sustainable materials and solar-powered LED lights to combine style with environmental consciousness.
Think of your project as a blank canvas—each element you add is a brushstroke that creates a masterpiece in your outdoor space.

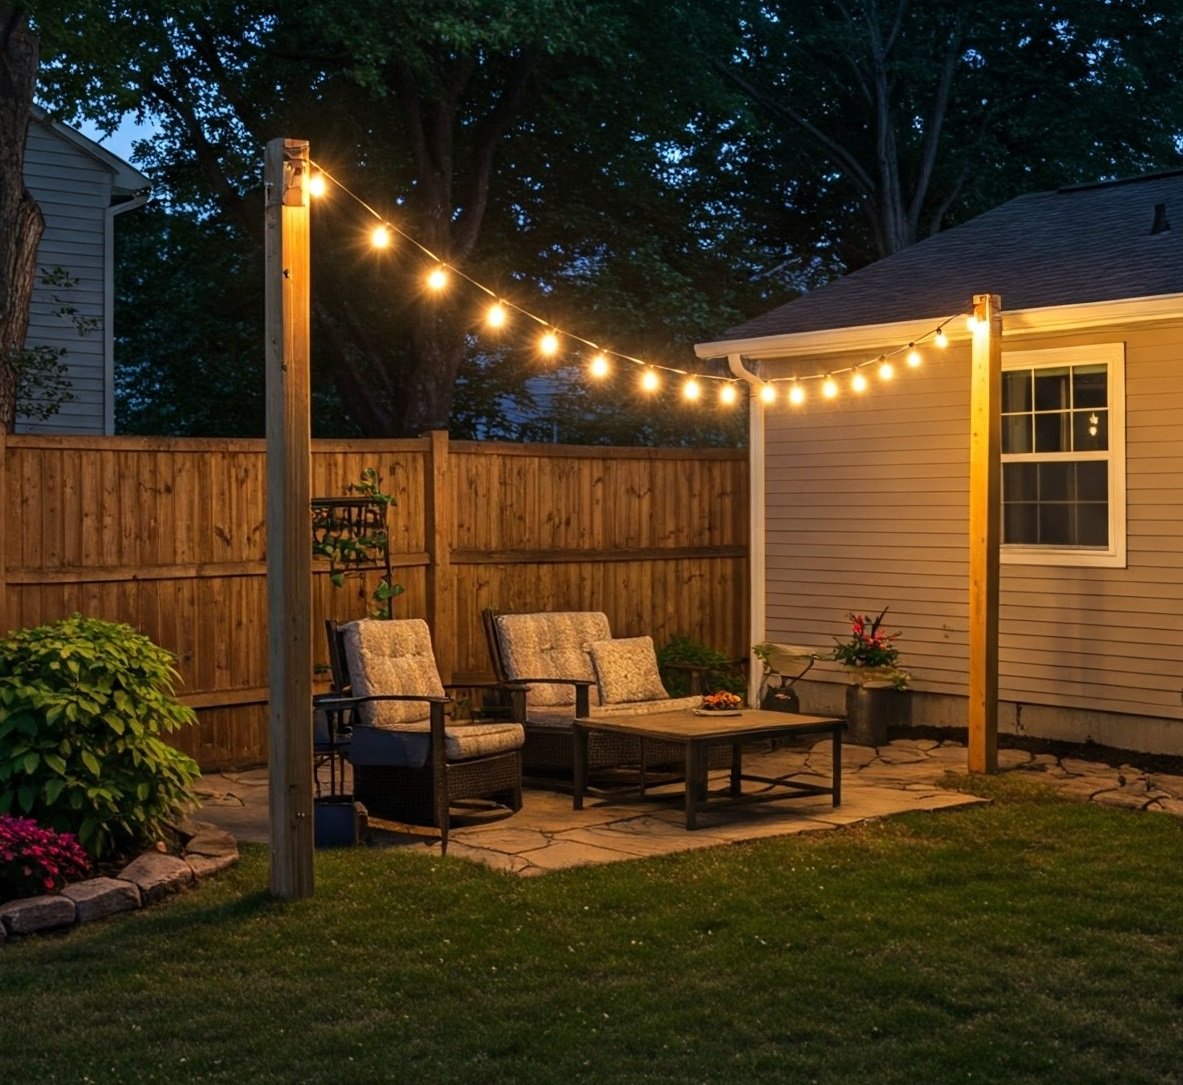
How to Make DIY String Light Poles for Outdoor Spaces: Step-by-Step Guide
Ready to light up your nights? Here’s a detailed, step-by-step process to guide you through making your own DIY string light poles.
Step 1: Gather and Inspect Your Materials
Inventory Check: Lay out all your tools and materials. Make sure nothing is missing.
Quality Inspection: Examine your poles and lights for any defects. This ensures your project starts on a solid foundation.
Step 2: Plan Your Layout
Measure Your Space: Use a measuring tape to determine the optimal placement for your poles.
Sketch Your Design: Draw a simple diagram of your outdoor area. Mark where each pole will go, keeping in mind the overall aesthetic and functionality.
Consider Lighting Angles: Think about how the lights will hang and where they’ll cast their glow.
Step 3: Secure the Poles
Dig the Holes: If you're installing your poles in the ground, dig holes that are deep enough to accommodate the pole and some extra space for concrete or sand.
Set the Poles: Insert each pole into its respective hole. Use a level to ensure they’re perfectly upright.
Stabilize: Fill the holes with concrete or sand to secure the poles firmly. Allow the material to settle and harden (usually a couple of days if using concrete).
Step 4: Assemble the Poles (if needed)
Drill Holes for Fixtures: Mark where the lights will attach. Drill small pilot holes for screws or cable ties.
Attach Brackets or Hooks: Secure any additional hardware needed for hanging the lights. Make sure everything is tight and secure.
Step 5: String the Lights
Unpack Your Lights: Test each string light to ensure it works before hanging them.
Plan the Path: Decide how the lights will drape between the poles. Sketch a mental (or literal) map if needed.
Secure the Lights: Use cable ties or hooks to attach the lights along the poles. Start from one end and work your way to the other, ensuring a uniform spacing between bulbs.
Check for Tension: Make sure the lights are neither too slack nor too tight. A bit of wiggle room is okay, but you don’t want them sagging.
Step 6: Finishing Touches
Personalize with Paint: If you haven’t painted your poles yet, now’s the time. A fresh coat of paint can transform them from plain to spectacular.
Decorative Additions: Add any extra elements—ribbon, fairy figurines, or even a small planter at the base of each pole to complete the look.
Final Inspection: Walk around your space to ensure everything is securely in place and looks just right.
By following these steps, you’ll master How to Make DIY String Light Poles for Outdoor Spaces with ease, and before you know it, your backyard will be the envy of the neighborhood.
Creative Tips for Customizing Your DIY String Light Poles
Just because you’ve got the basics down doesn’t mean you can’t add a dash of pizzazz. Here are some creative ideas to make your string light poles truly one-of-a-kind:
Mix and Match Materials: Don’t be afraid to combine metal with wood or even incorporate elements like rope or fabric for a textured look.
Incorporate Nature: Wrap small vines or add potted plants around the base of your poles. It’s a great way to merge your DIY project with the natural beauty of your garden.
Go Bold with Colors: Use bright, contrasting colors for the poles, or paint them in a gradient for an artistic flair.
Add Motion Elements: Consider hanging wind chimes or small mobiles from your poles to introduce an element of movement and sound.
Seasonal Swaps: Change your decorations with the seasons—think orange and black for Halloween, red and green for Christmas, and so on.
These little touches not only add character but also ensure your outdoor space evolves with your mood and the seasons.
Troubleshooting and Common Pitfalls
Every DIY project has its share of bumps along the way. Here are some common issues you might encounter—and how to dodge them:
1. Uneven Poles
Problem: Poles that lean or tilt can make your entire setup look off.
Solution: Use a level during installation and allow ample time for the concrete or sand to settle. If one pole is off, adjust it immediately before the material hardens.
2. Tangle Troubles with Lights
Problem: String lights can sometimes become tangled or hang unevenly.
Solution: Unwind the lights fully before installation and use cable ties to secure them at regular intervals. A bit of patience goes a long way here!
3. Weather Woes
Problem: Inclement weather might disrupt your project or damage your materials.
Solution: Check the weather forecast before starting your project. If a storm is in the works, postpone your outdoor DIY day. Additionally, opt for weather-resistant materials and sealants.
4. Electrical Hiccups
Problem: Sometimes, even the best-planned installations encounter electrical issues.
Solution: Always test your lights before hanging them. If you run into problems, check your connections, and ensure that your power source is safe and reliable. Safety first!

Expert Tips on How to Make DIY String Light Poles for Outdoor Spaces
You might be thinking, “Well, that wasn’t too hard!” But before you call it a day, here are some expert tips to ensure your project stands out:
Plan for Flexibility: Design your layout with future modifications in mind. You may want to add more lights or decorative elements later on.
Don’t Skimp on Safety: When drilling, painting, or installing electrical components, always wear protective gear.
Consider Solar Options: For an eco-friendly twist, look into solar-powered LED lights. They’re easy on your wallet and the environment.
Test in Phases: Rather than doing everything at once, break your project into manageable phases. This helps in identifying and fixing issues early.
Invite a Friend: DIY projects are always more fun with company. Invite a friend or two to lend a hand—they might offer creative insights you hadn’t thought of!
By keeping these tips in mind, you'll be well on your way to mastering How to Make DIY String Light Poles for Outdoor Spaces in a way that’s both safe and spectacular.
Conclusion
In the grand scheme of outdoor DIY projects, learning How to Make DIY String Light Poles for Outdoor Spaces can be a game-changer. Not only does it add a personalized touch to your yard, but it also creates a welcoming atmosphere that makes every evening feel special. From the initial planning stages to the final decorative tweaks, each step of the process is a chance to infuse your space with your unique style and personality.
To wrap it all up, remember these key points:
Preparation is Everything: Gather your tools, plan your layout, and measure twice before you drill.
Take Your Time: Don’t rush the process—each step is critical to achieving that picture-perfect setup.
Personalize Your Space: Use colors, textures, and decorative elements that reflect your style.
Safety First: Always keep safety in mind, whether you’re working with power tools or electrical components.
By following our guide, you’re well-equipped to answer the recurring question: How to Make DIY String Light Poles for Outdoor Spaces? With a blend of creativity, practical know-how, and a little bit of elbow grease, your outdoor area will soon be aglow with a warm, inviting light that’s all your own.
So, why wait? Grab those tools, get inspired, and start crafting your very own string light poles. Whether you’re hosting a backyard barbecue, a quiet evening under the stars, or a festive holiday gathering, your DIY string light poles will undoubtedly be the shining stars of your outdoor décor.
Happy crafting and even happier evenings under your brilliant, handmade lights!
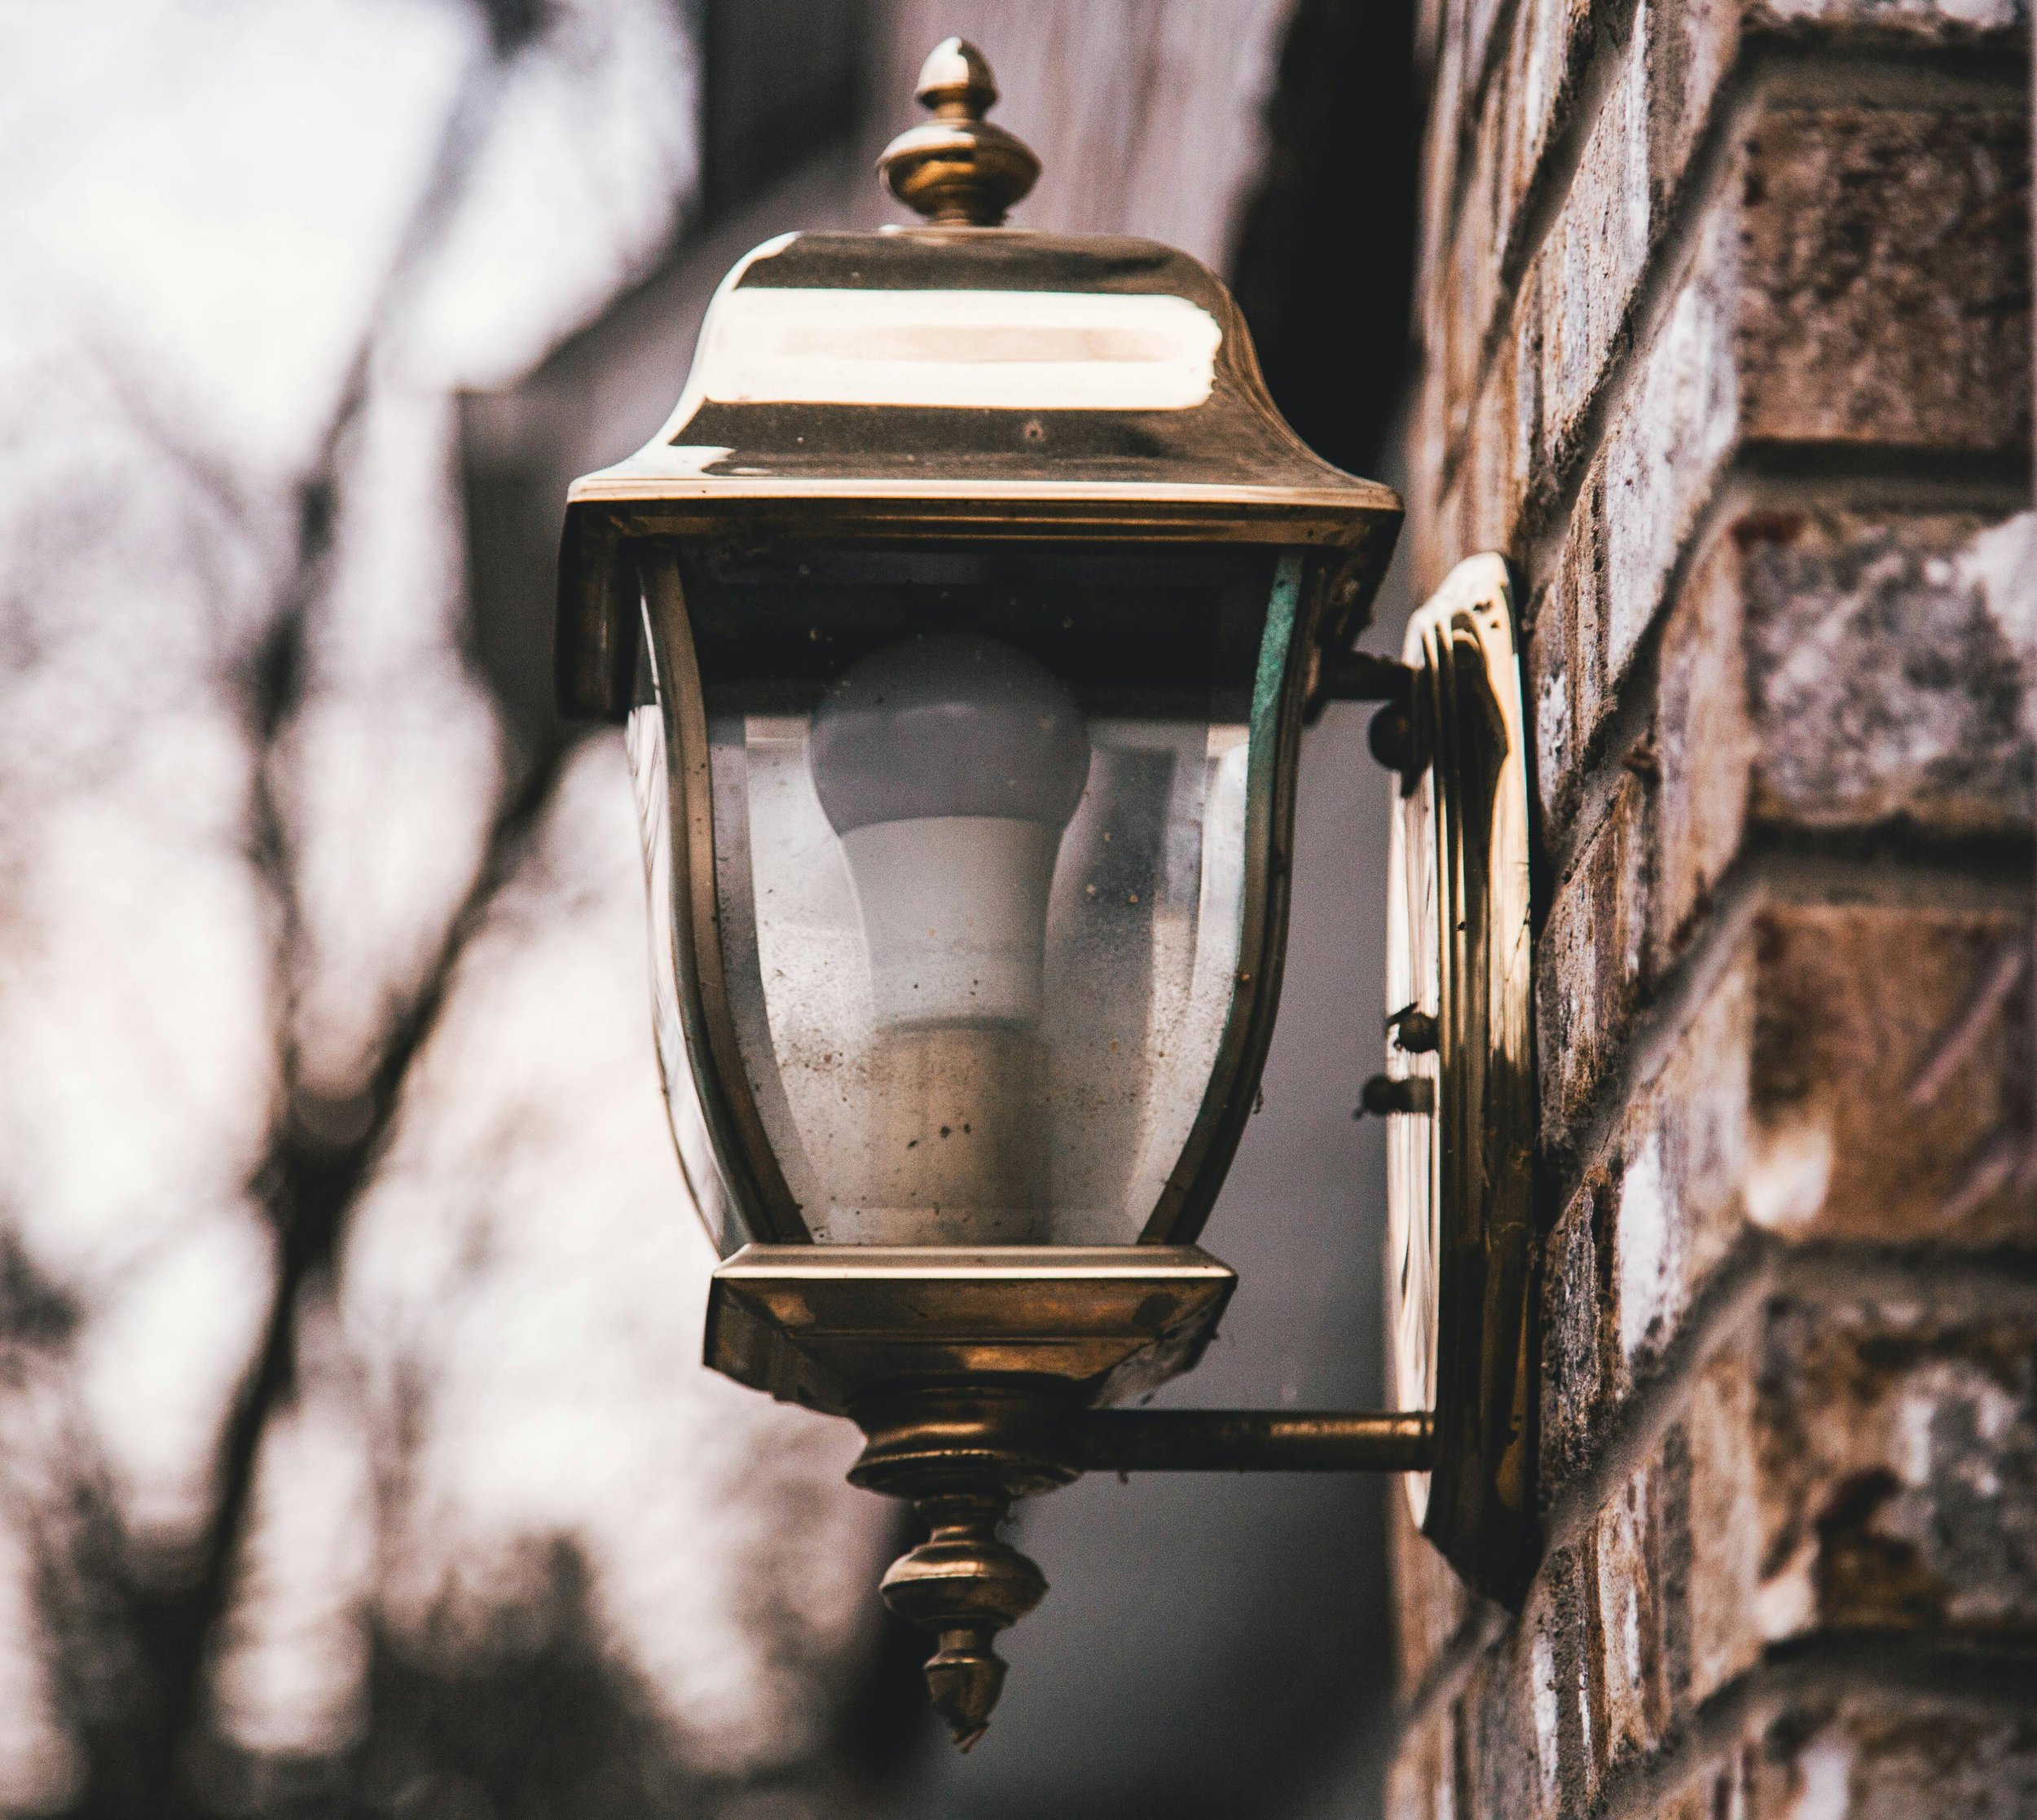
Read next: How to Replace an Outdoor Light Fixture: Easy DIY Guide
Frequently Asked Questions
Q1: What materials do I need for this DIY project?
You’ll need poles (wood or PVC), string lights, a drill, screws, concrete or sand, cable ties, and paint. The exact materials can vary based on your design and weather conditions.
Q2: How long does it typically take to complete the project?
Depending on the complexity of your design and the number of poles, you can expect the project to take anywhere from a few hours to a full day. Planning and setup may extend the overall time, so give yourself plenty of room to work without rushing.
Q3: Can I use this project for commercial outdoor spaces too?
Absolutely! While our guide is geared towards personal outdoor spaces, the same principles apply for commercial settings. Just ensure you follow local electrical codes and safety regulations.
Q4: Is it necessary to use concrete to secure the poles?
Not necessarily. If you’re working with lighter materials or temporary setups, sand or gravel might suffice. However, for a long-lasting installation, concrete is recommended.
Q5: What if I encounter electrical issues with the string lights?
First, test the lights before installation. If issues arise, check your wiring and connections, and make sure you’re using weatherproof extension cords and connectors. If problems persist, consult an electrician for safety reasons.
Stay up to date with our latest ideas!